This guide walks you through creating an Apollo API key and configuring it in Composio.
Overview
Authentication type: API Key
OAuth required: No
Scopes: Not supported
Access control: Apollo plan + user role
Apollo uses API key–based authentication. Permissions are enforced internally by Apollo and cannot be modified by Composio.
Step 1: Generate an API Key in Apollo
Log in to your Apollo account.
Navigate to:
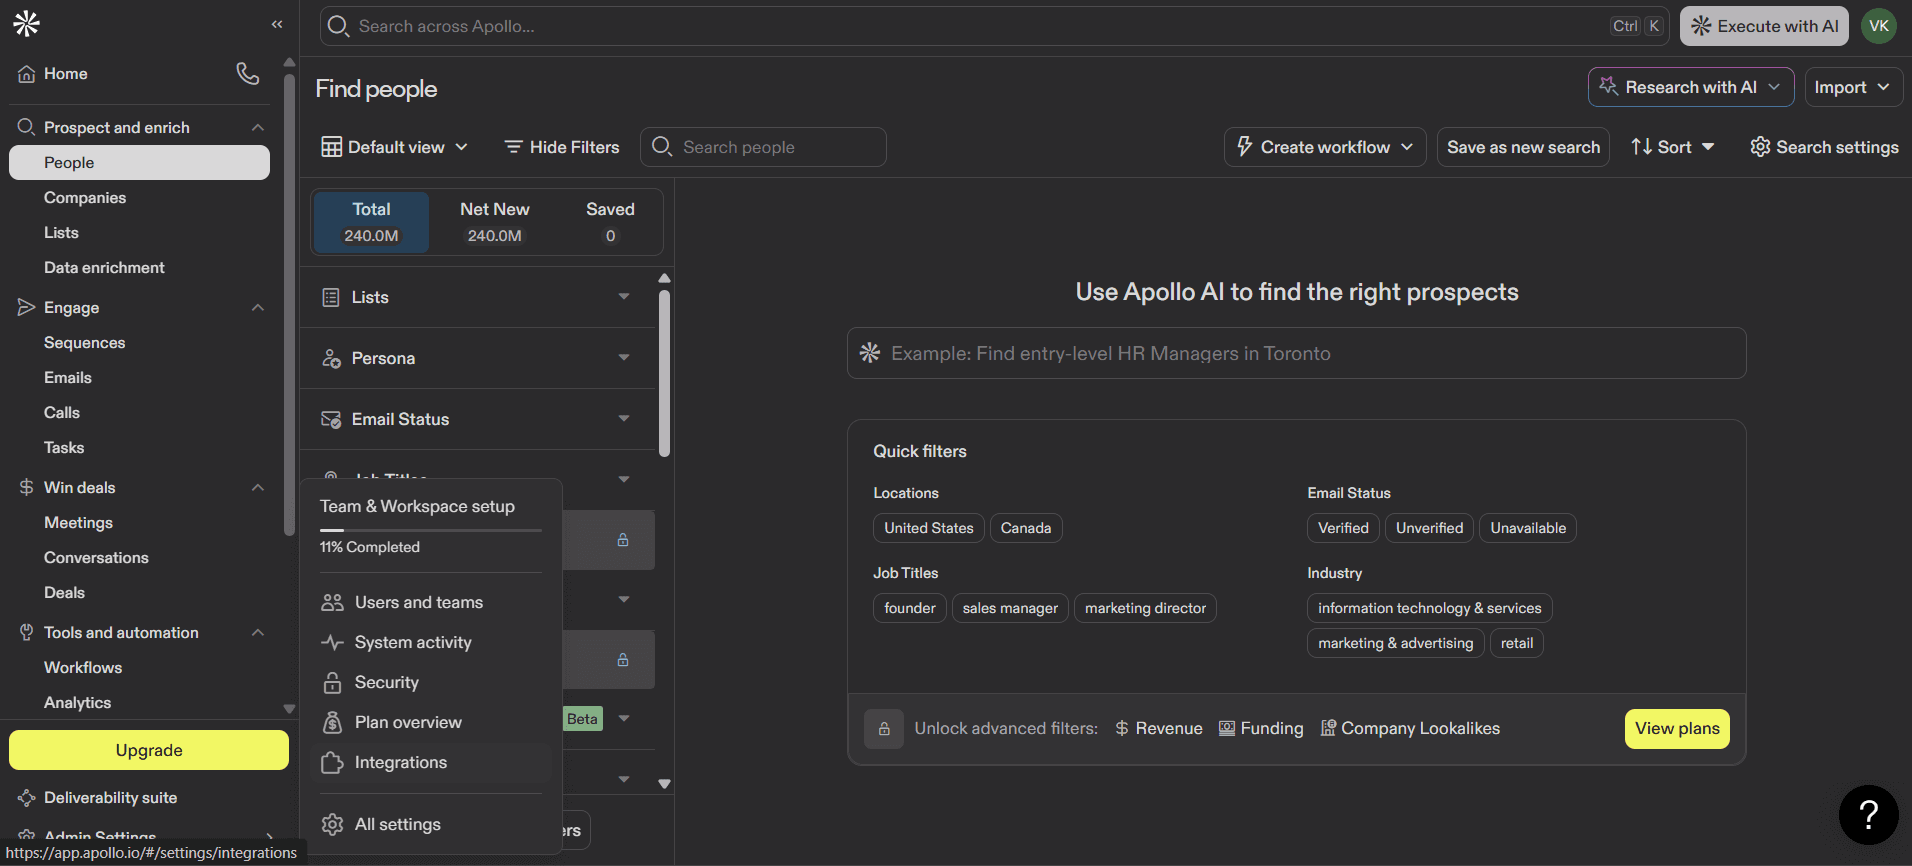
Click on Integrations
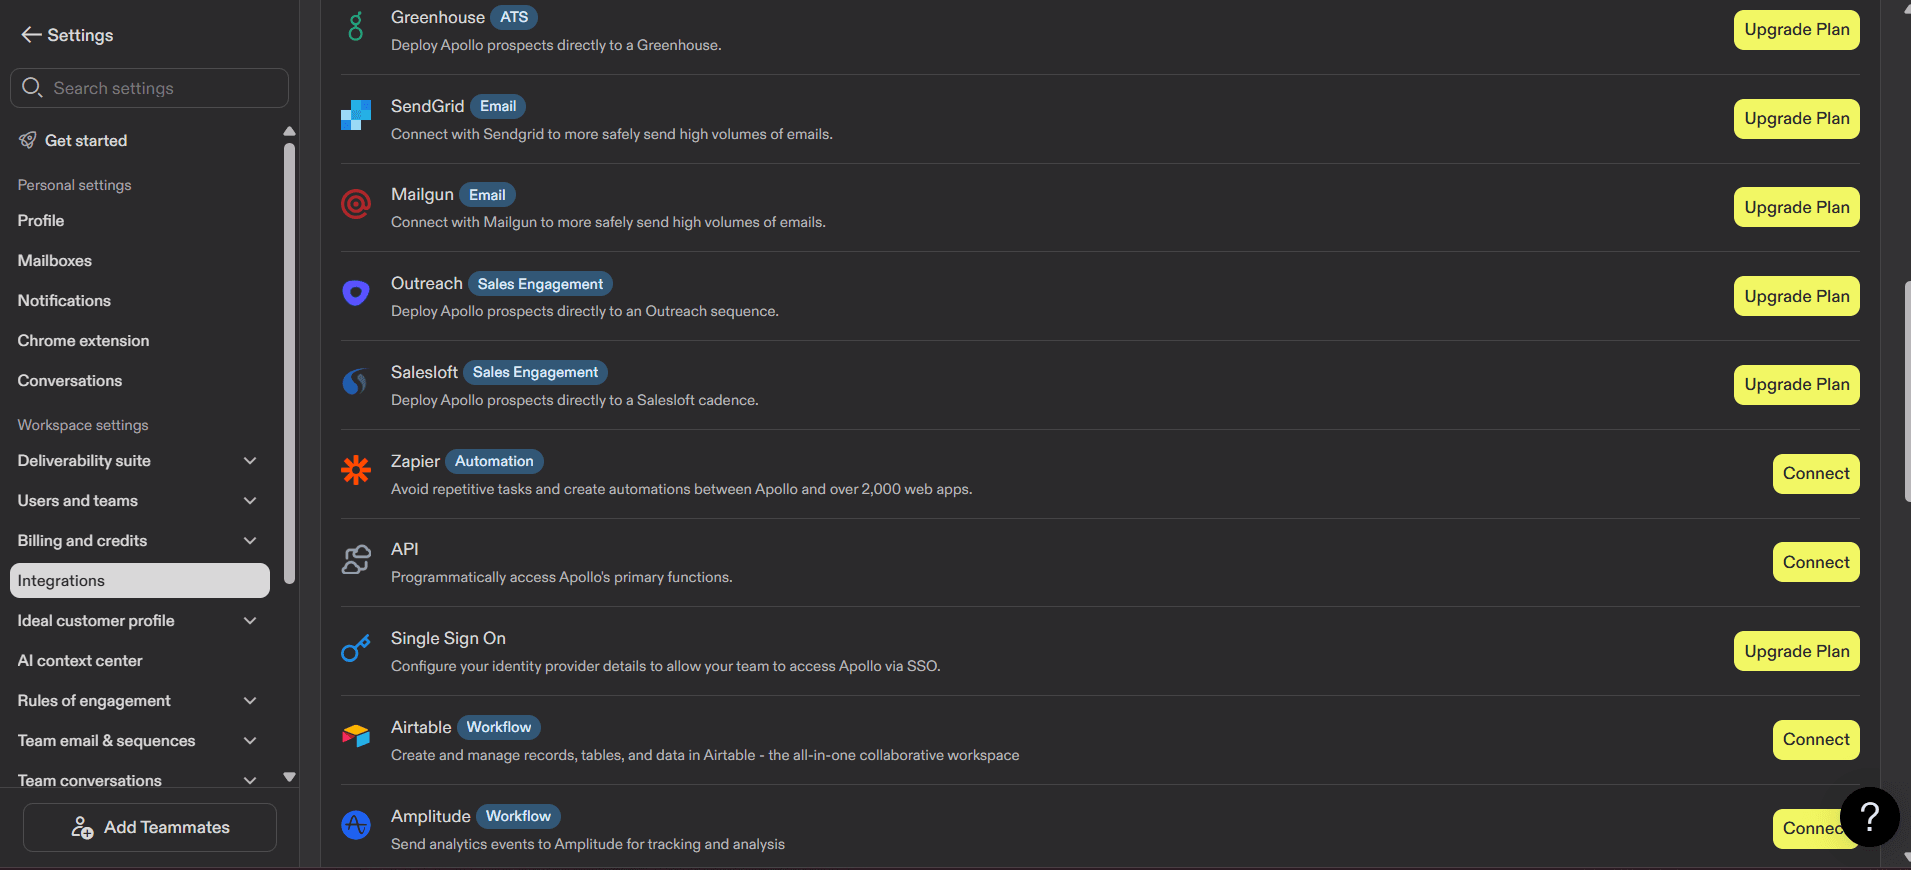
Click on API → API Keys
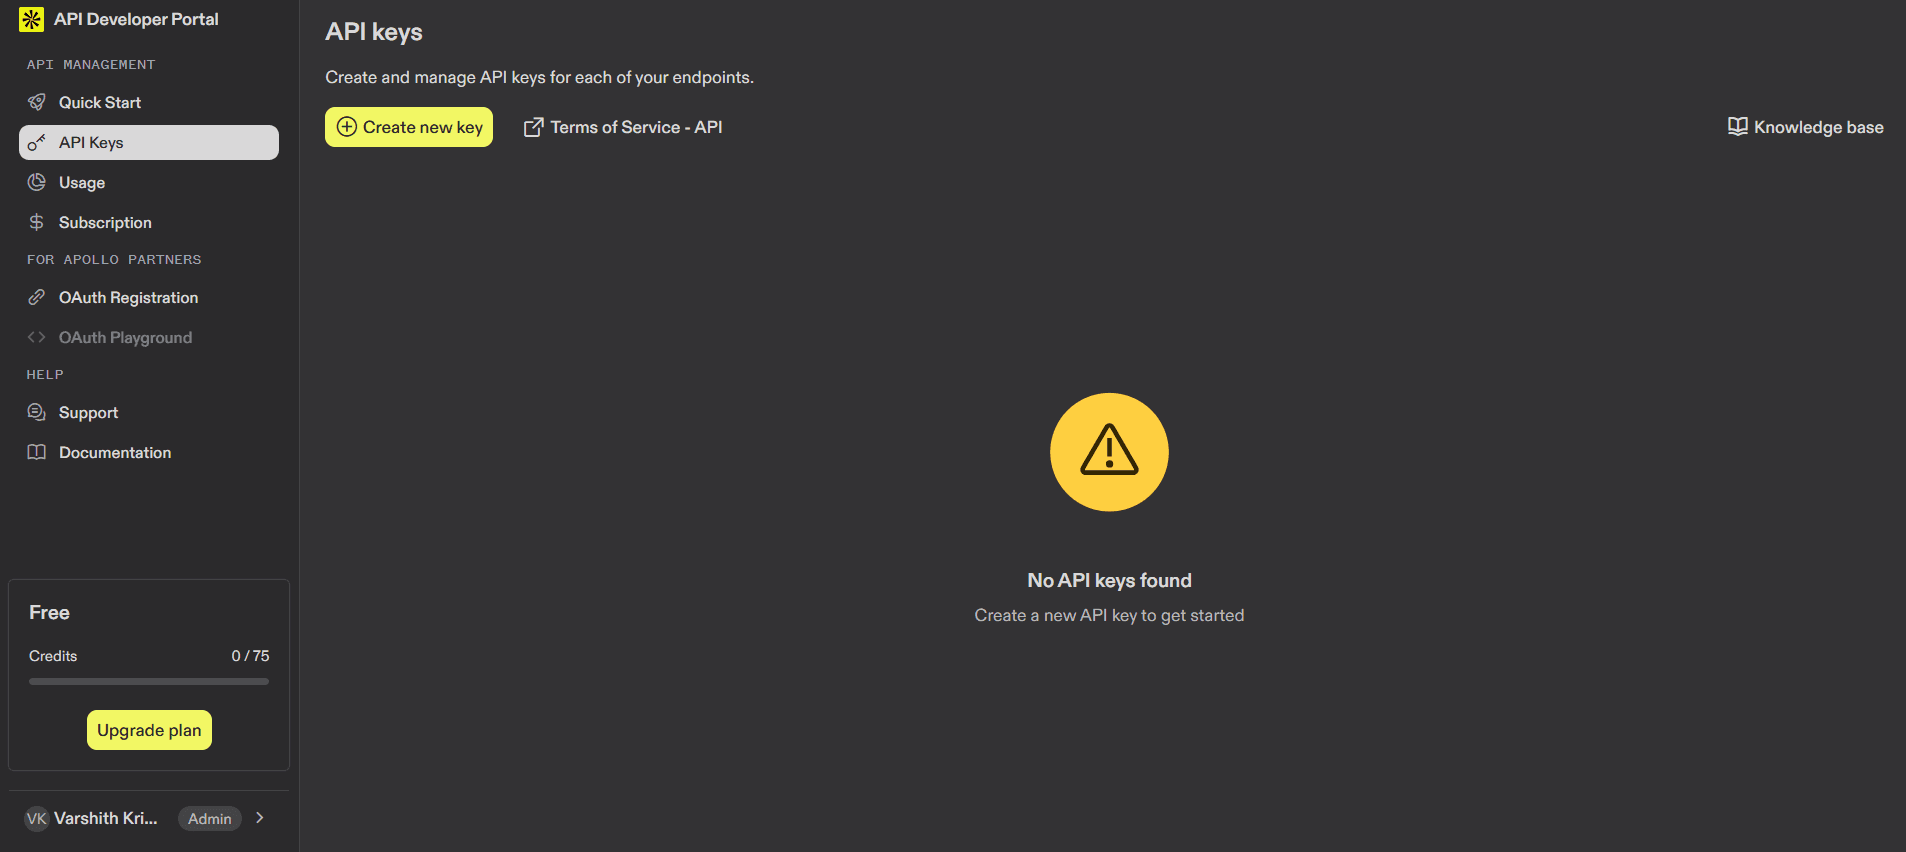
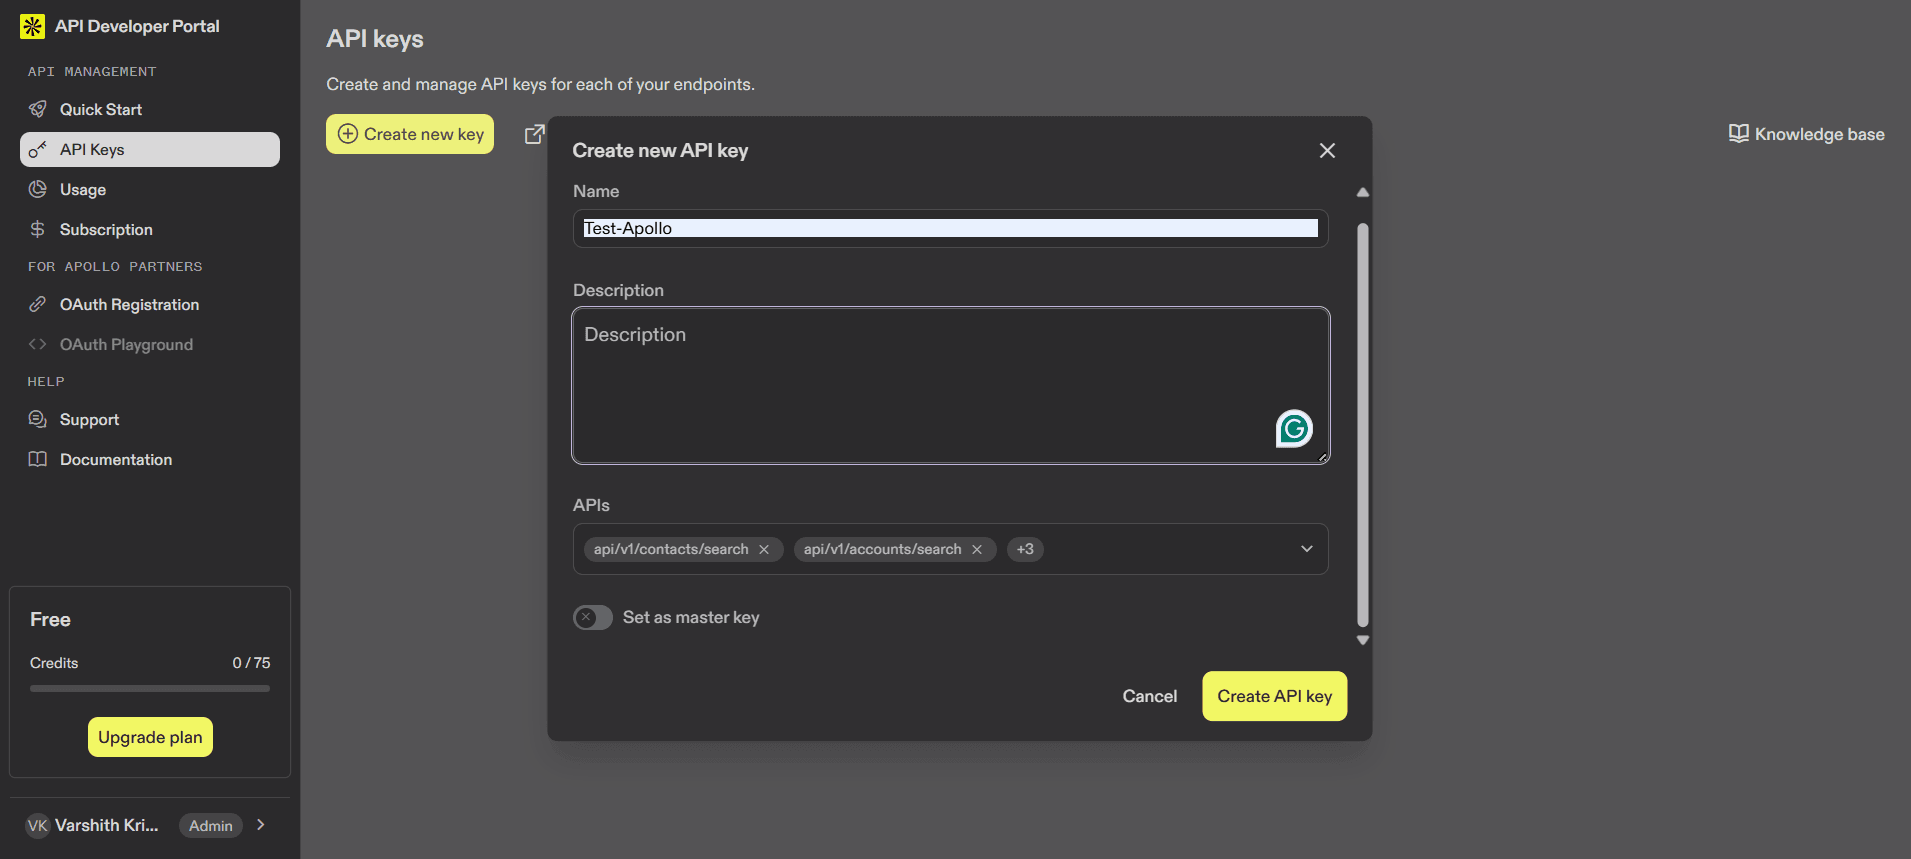
Click on Create a new Key
Give the key a name.
Apollo API Reference & Available Endpoints
In the same API section, Apollo displays a list of available REST endpoints that your API key can access.
Enable Master key to access all endpoints.
Commonly used endpoints include:
These endpoints allow you to:
Search and filter contacts
Search people and organizations
Retrieve account and user data
Power lead enrichment and prospecting workflows
The visibility of these endpoints confirms that your API key is active and ready to use.
Copy the generated API key.
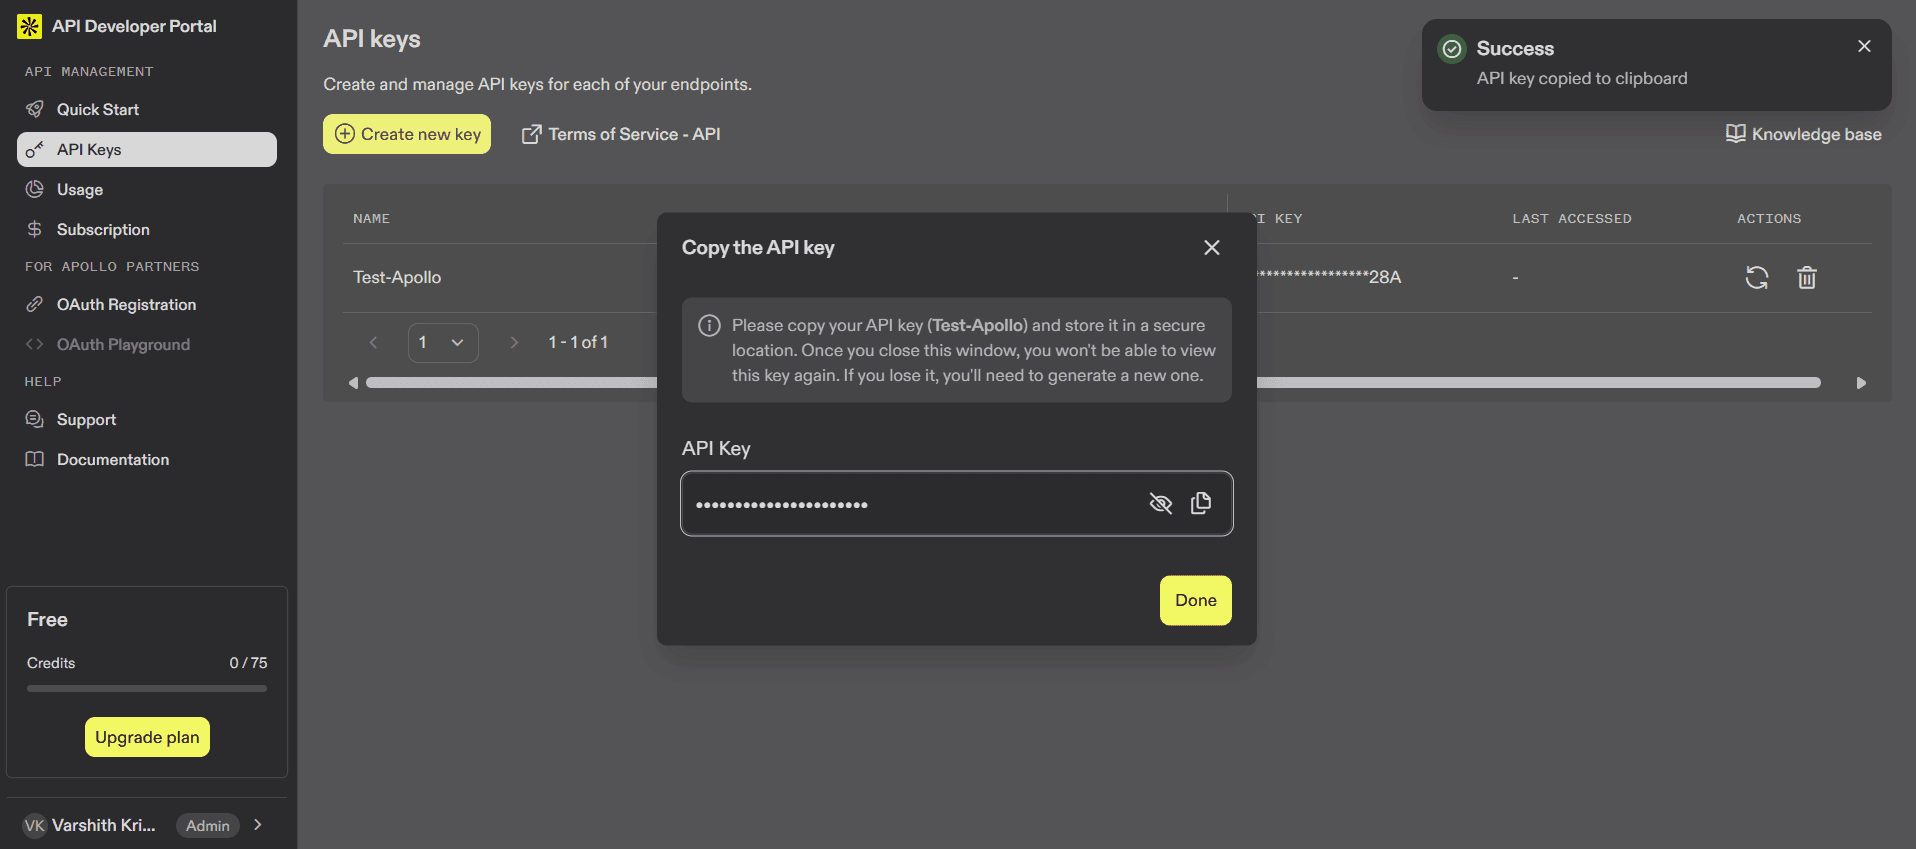
Important: Save the API key securely. You may not be able to view it again.
Step 2: Understand Apollo Permissions (Important)
Apollo does not support OAuth scopes.
Access is determined by:
The Apollo subscription plan
The role of the user who created the API key
Typical accessible resources include:
People search
Company search
Contact enrichment
Basic sequence data (plan-dependent)
Composio forwards the API key exactly as provided. Apollo enforces all permission limits.
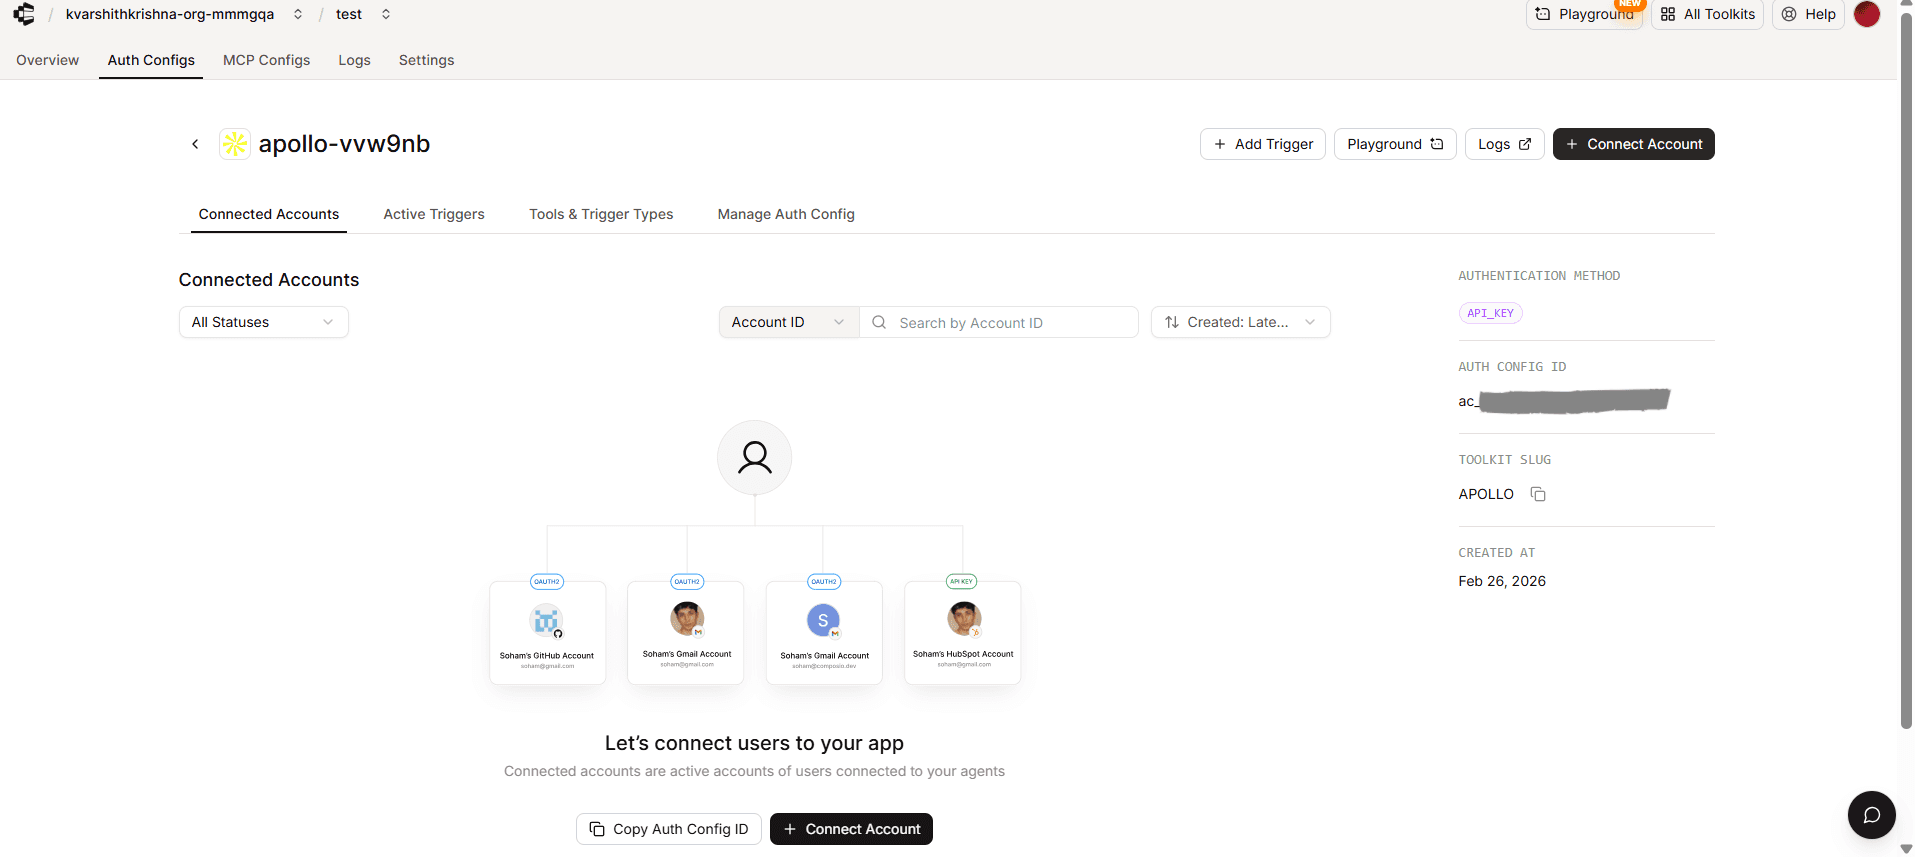
Step 3: Create Apollo Auth Config in Composio
Go to Composio Dashboard:
Click on the Create Auth Config button to get a list of all the toolkits available.

Click Create Auth Config
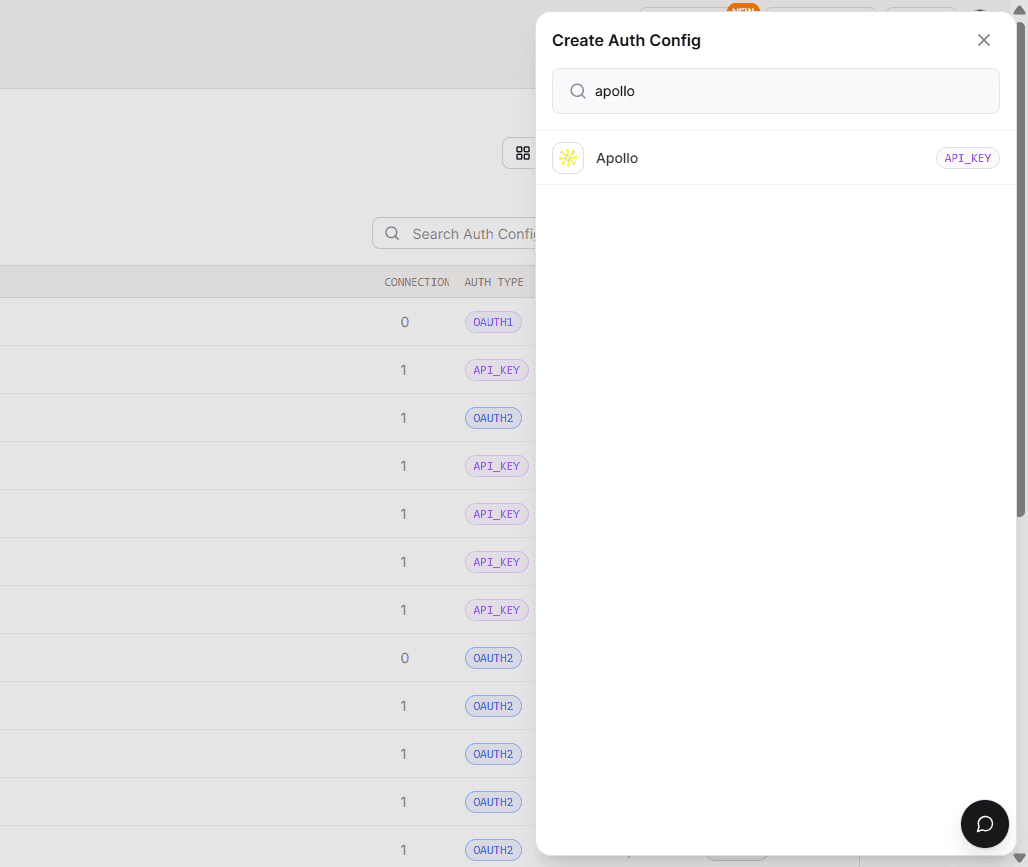
Select Apollo from the toolkit list
Make sure the Authentication Type is API Key
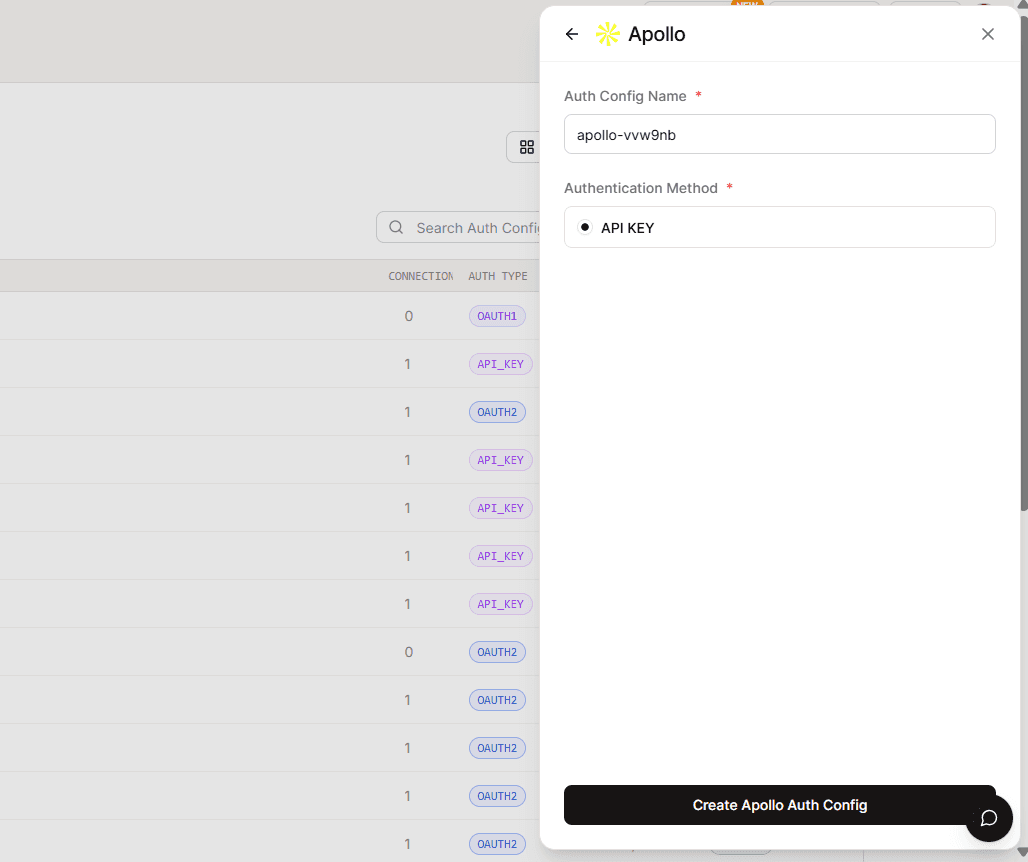
Click on Connect Account
Paste your Apollo API Key
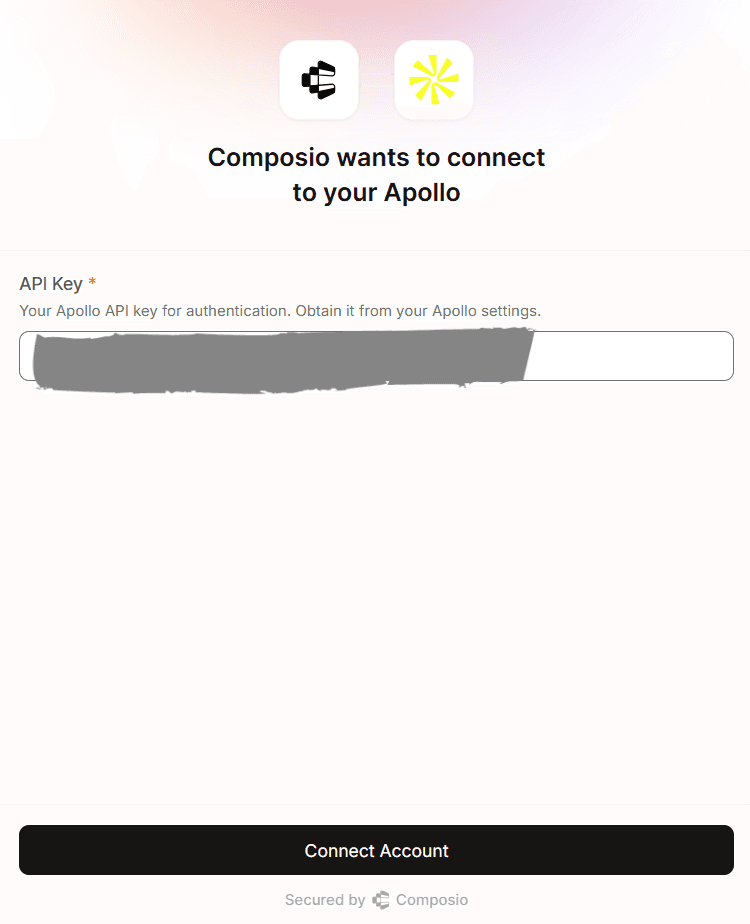
Click Connect Account
Step 4: How Authentication Works
When using Apollo with Composio:
The API key is stored securely
Composio injects the key into every request
Apollo validates and authorizes the request
No OAuth flow or redirects are involved
Step 5: Test Apollo Connection (Optional)
You can test the integration using Composio Playground.
Sample test prompt:
“Search for companies in the fintech industry”
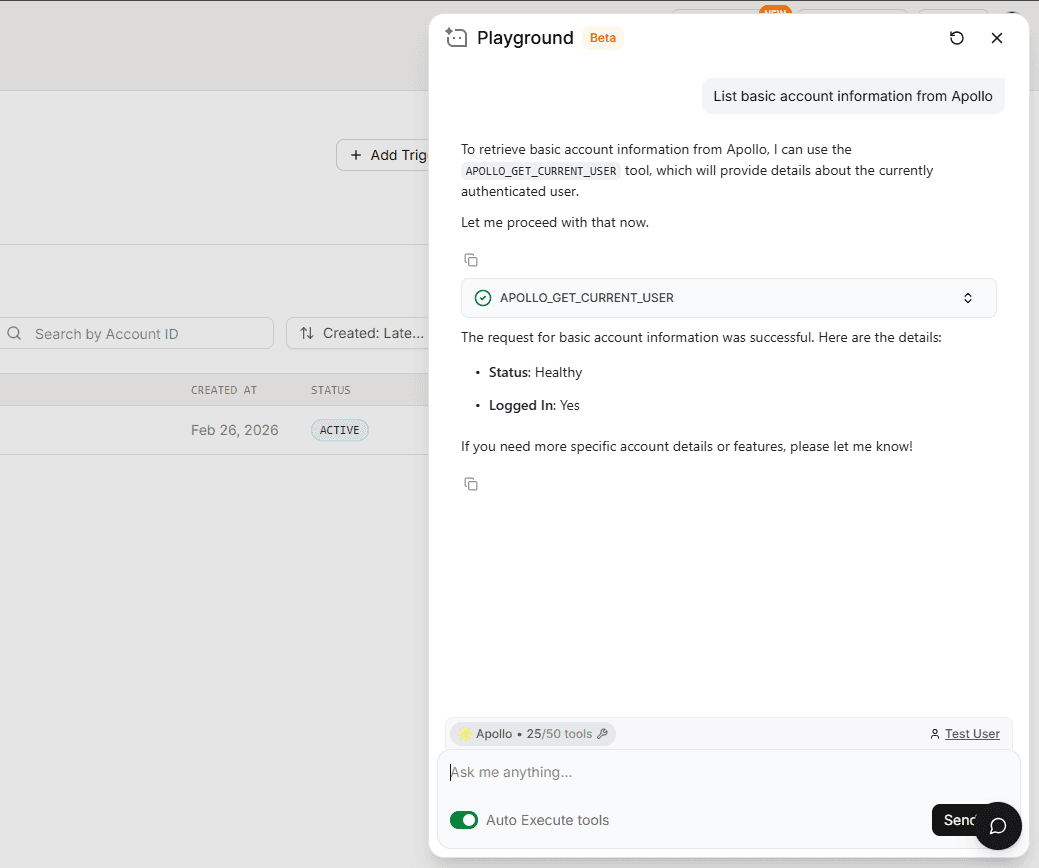
If configured correctly, Apollo data will be returned successfully.
Base URL (For Reference)
All Apollo API requests are sent to:
Final Step
Once configured:
Copy the Auth Config ID (starts with
ac_)
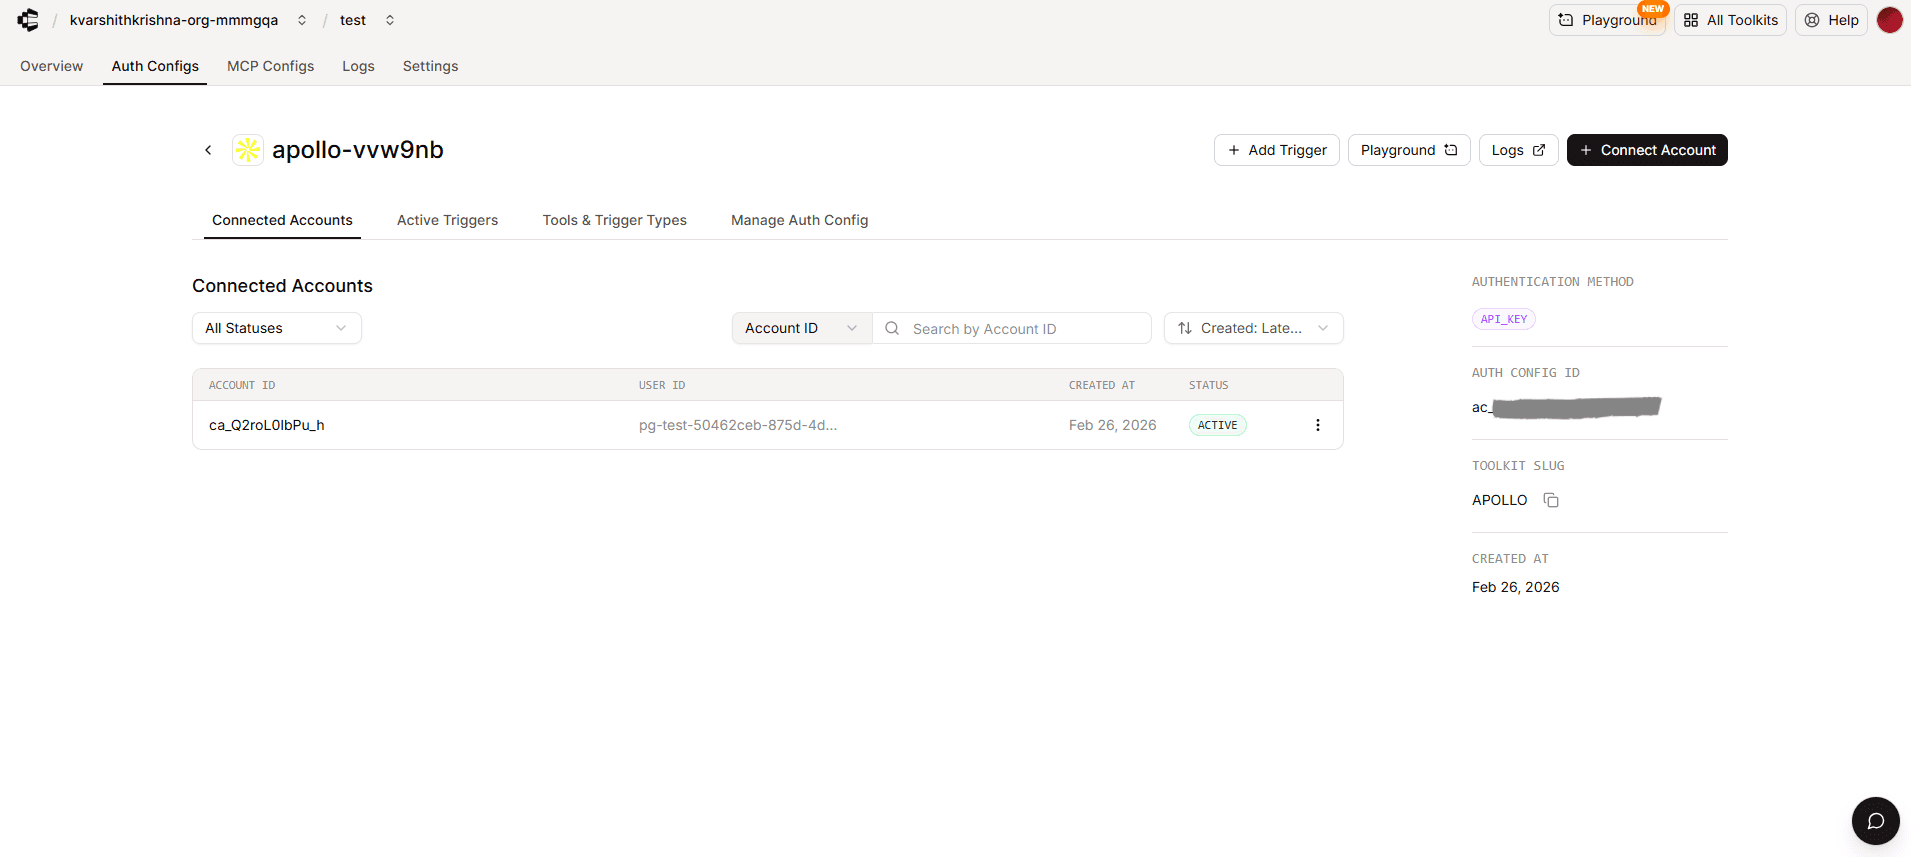
Store it securely using a secret manager
Use it in your application to authenticate Apollo via Composio