In this guide, I’ll share the process for customising the auth config for Google using the new Auth Platform dashboard in GCP. So let’s begin.
Setting up Google OAuth
In this section, we’ll go through the process of setting up a Google Developers account/Project and creating an OAuth 2.0 Client ID using the new dashboard.
Note: If you already have a Google Cloud project set up, you can skip the first step.
Step 1: Create a Google Cloud Project (Optional)
If you don’t already have one, create a Google Cloud Project by logging to google cloud console.

This gives you a workspace where you can configure OAuth clients and APIs
Step 2: Open the OAuth Consent Screen
In the Google Cloud Console, navigate to APIs & Services → API Library → Search for Gmail API and enable it → OAuth consent screen.

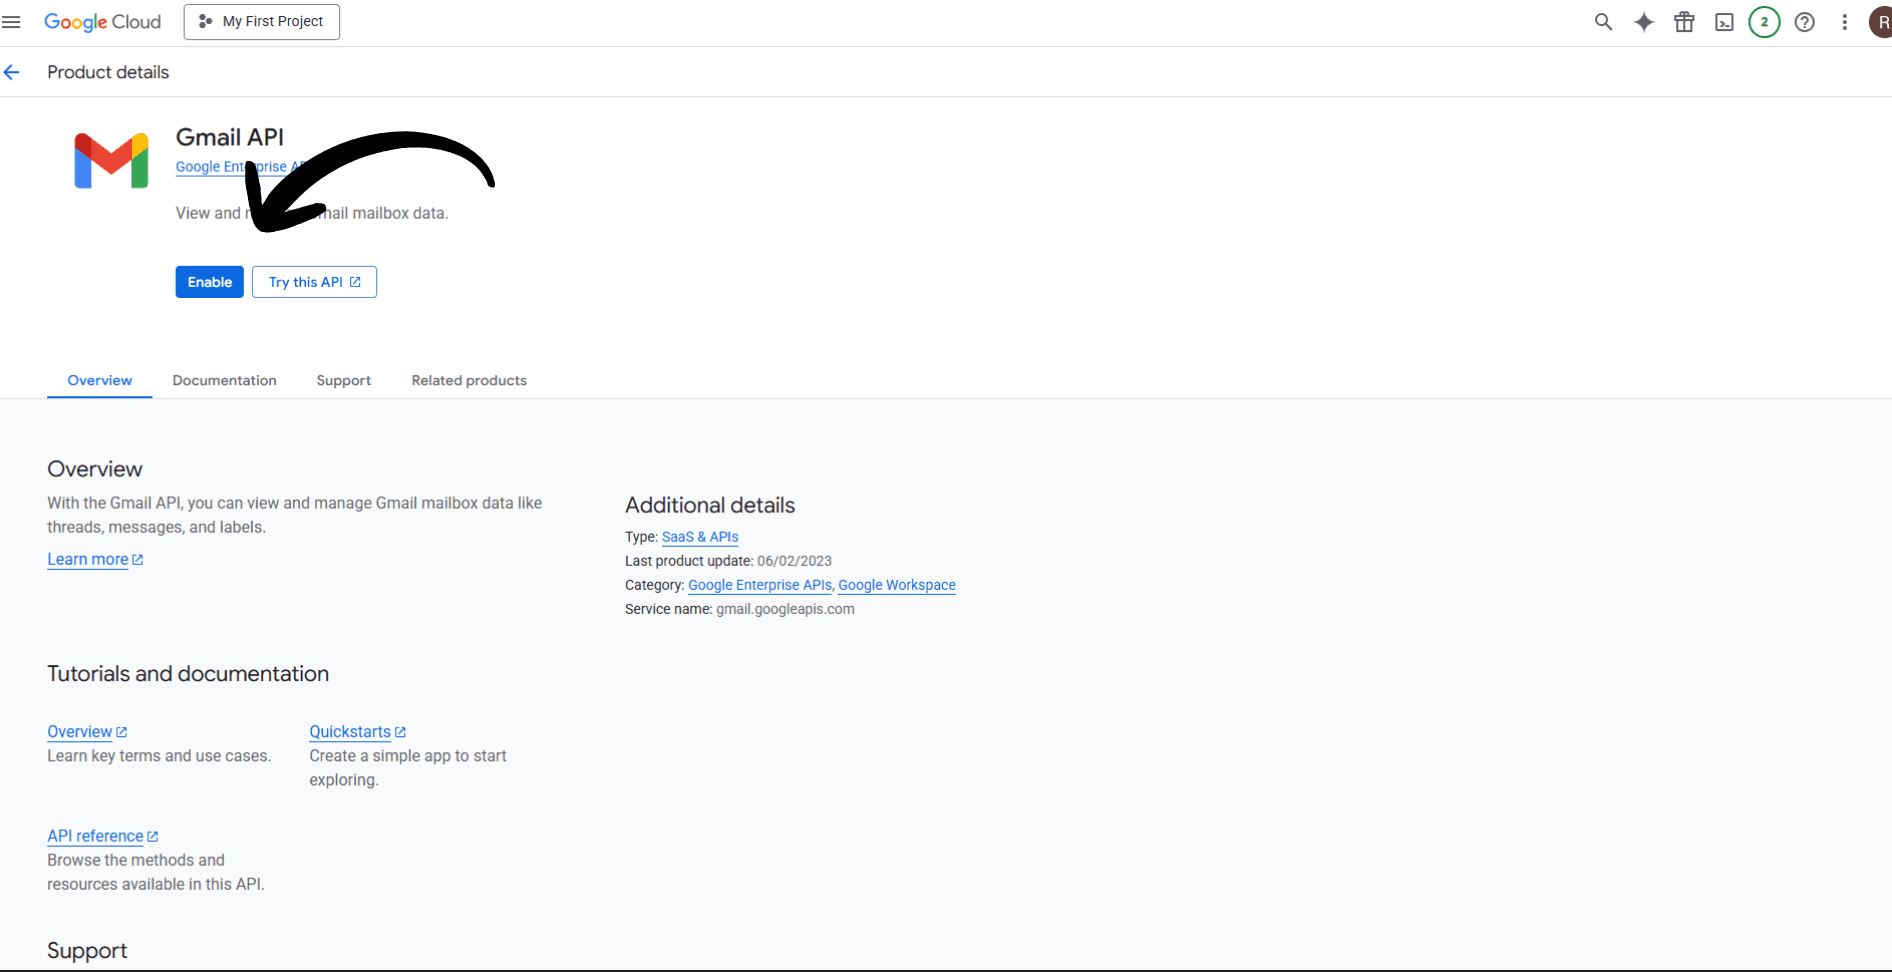
This opens the new Auth Platform dashboard.
If this is your first time in the project, the screen will look like this:
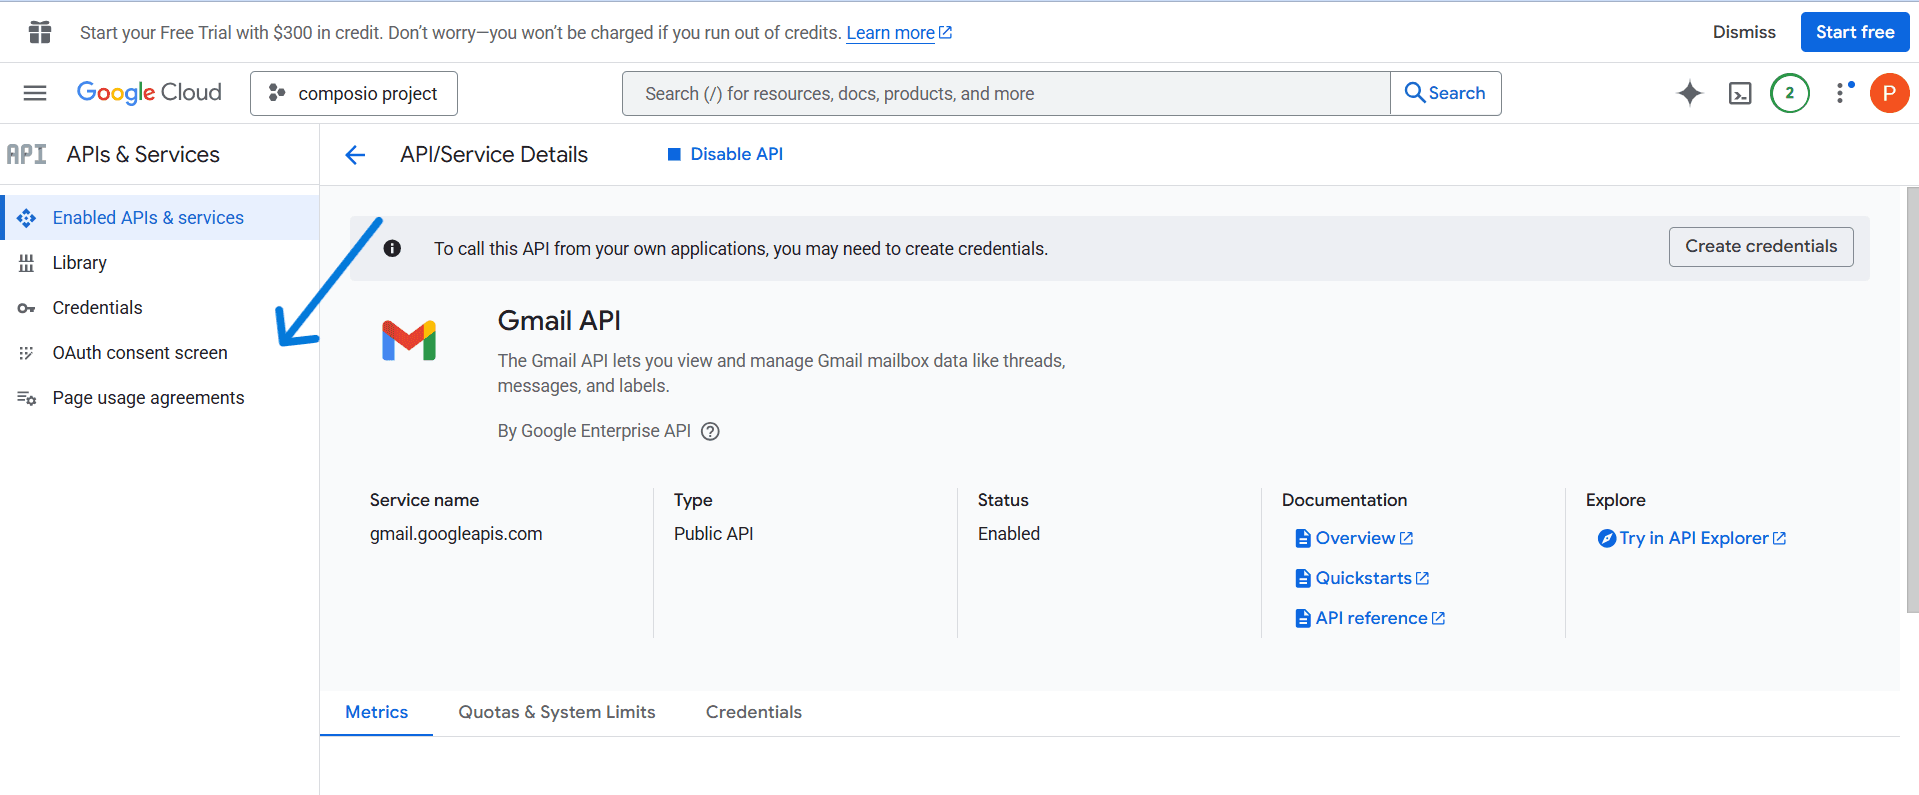
Now, press the OAuth consent screen, and then you will see the page below.

Step 3: Configure the Consent Screen
Click Get Started and follow the onboarding wizard:
App Information
App Name
User support email (dropdown)
Audience
Select Internal (only your org’s accounts) or External (any Google user)
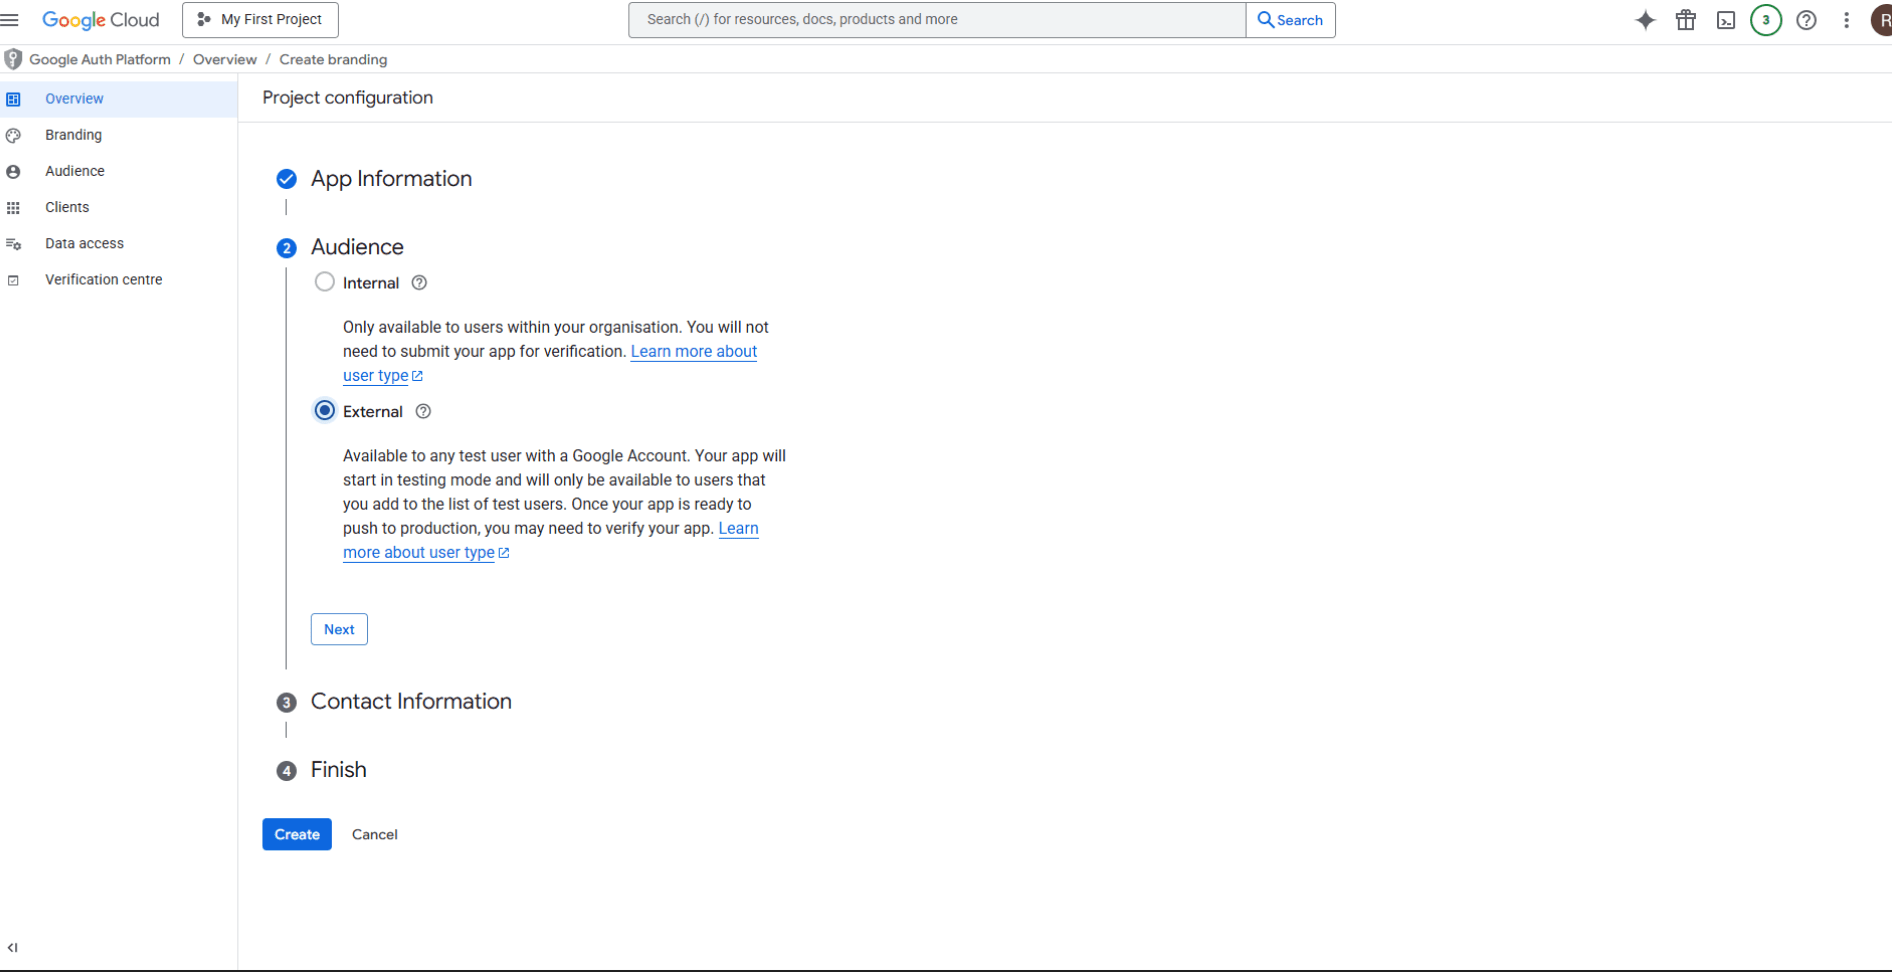
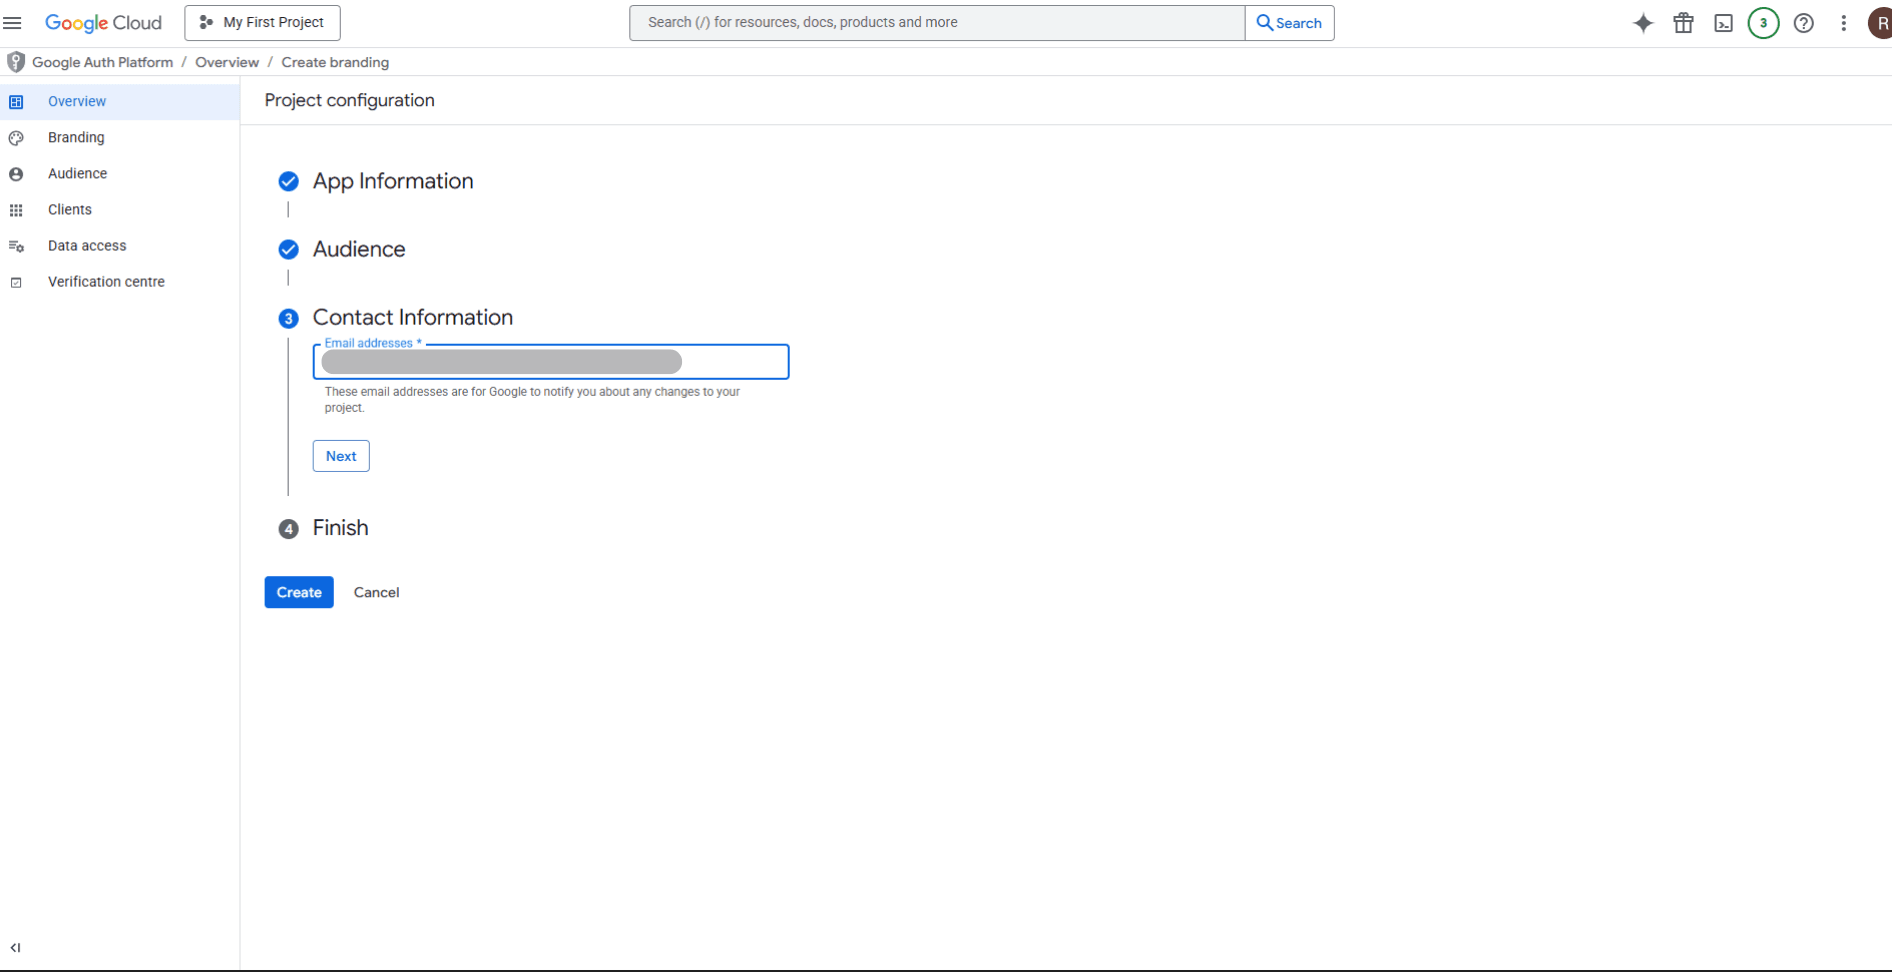
Contact Information
Add developer contact details
Acknowledgement
Review and click Create
Once done, you’ll see the Consent Screen Overview page.
Step 4: Create OAuth Client Credentials
On the consent screen overview, click Create OAuth client.
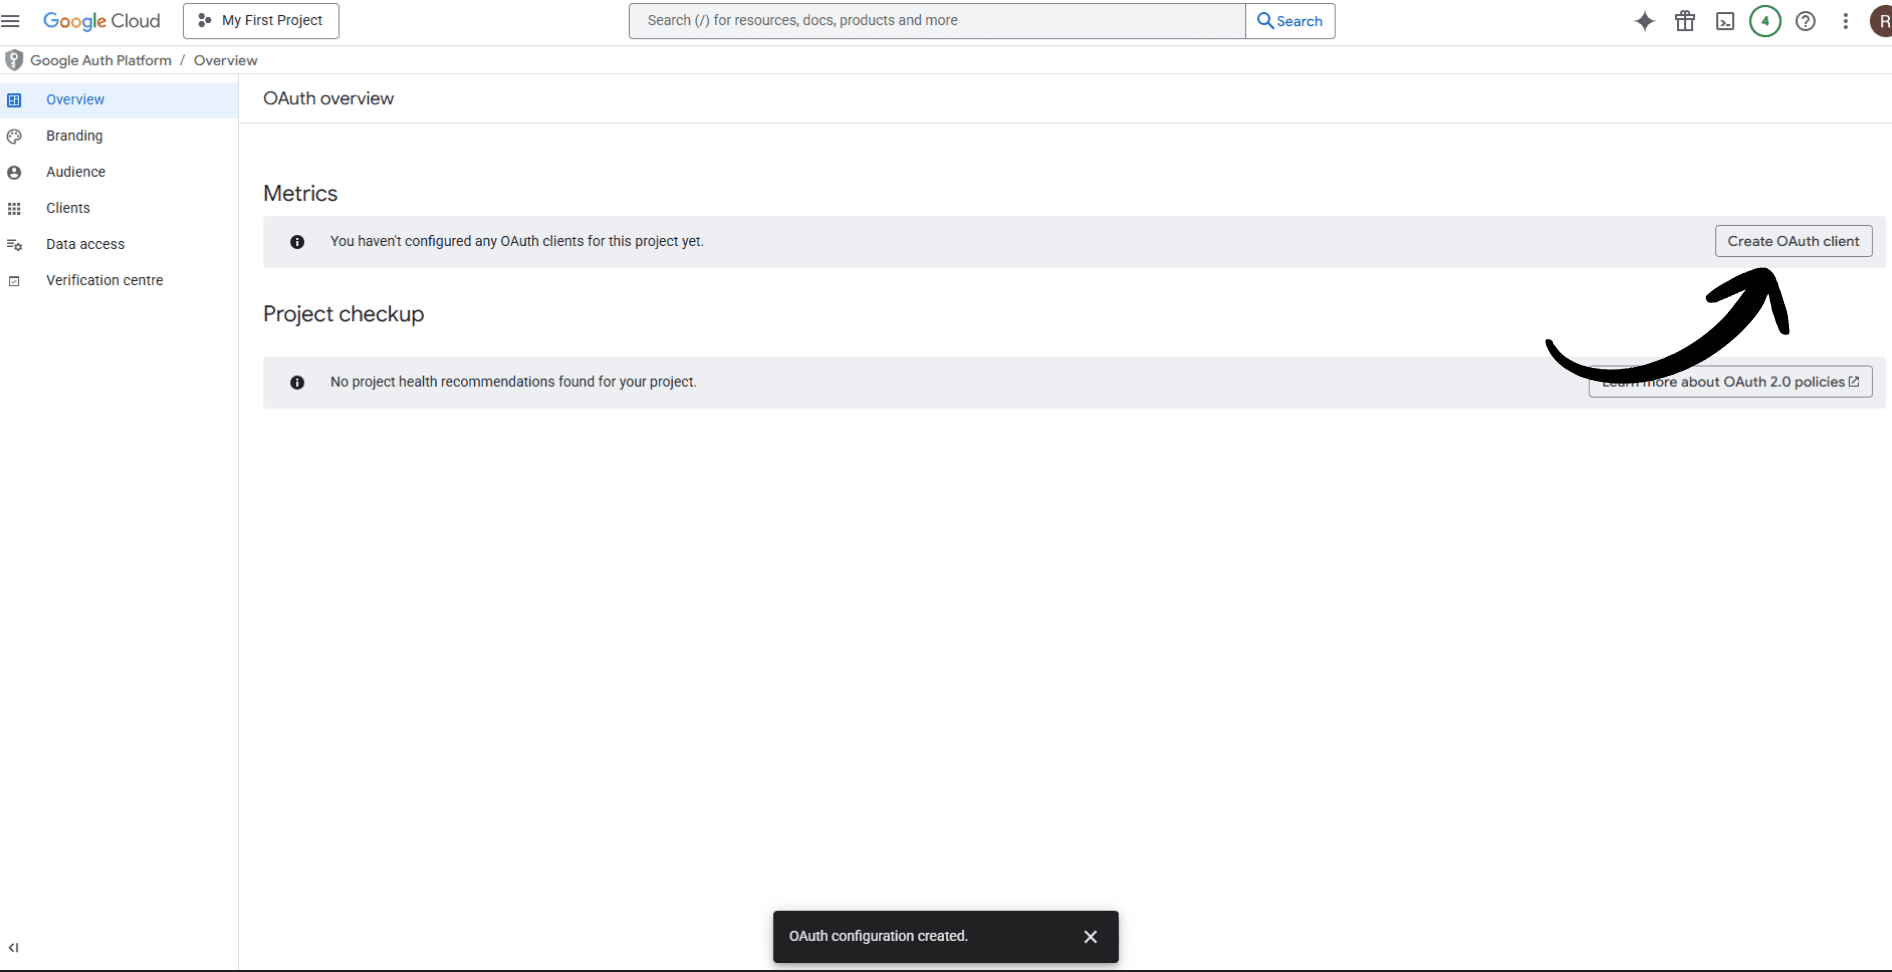
You’ll be redirected to the Clients page.
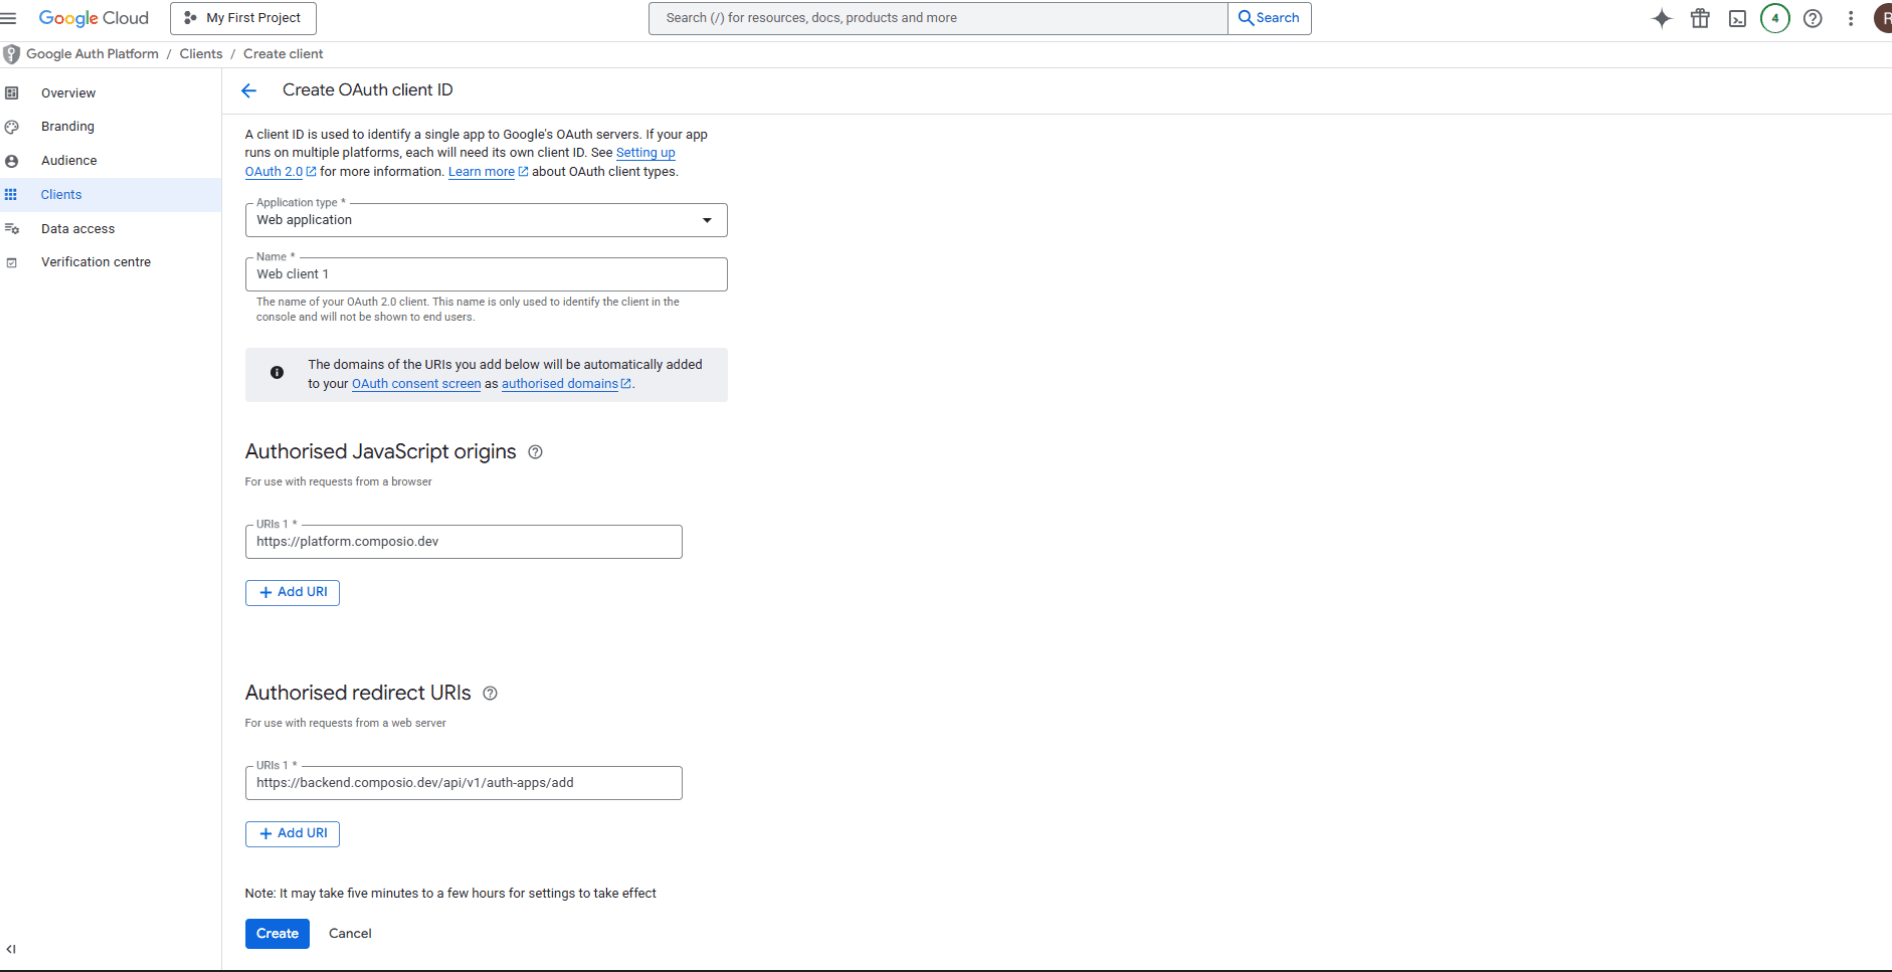
Configure the client:
Application type: e.g., Web application
Client name: choose any name for your app
Authorized JavaScript origins: (you can use https://platform.composio.dev, if you’re trying it out on the dashboard).
Authorized redirect URIs:
Click Create
After creation, Google will generate your OAuth Client ID.
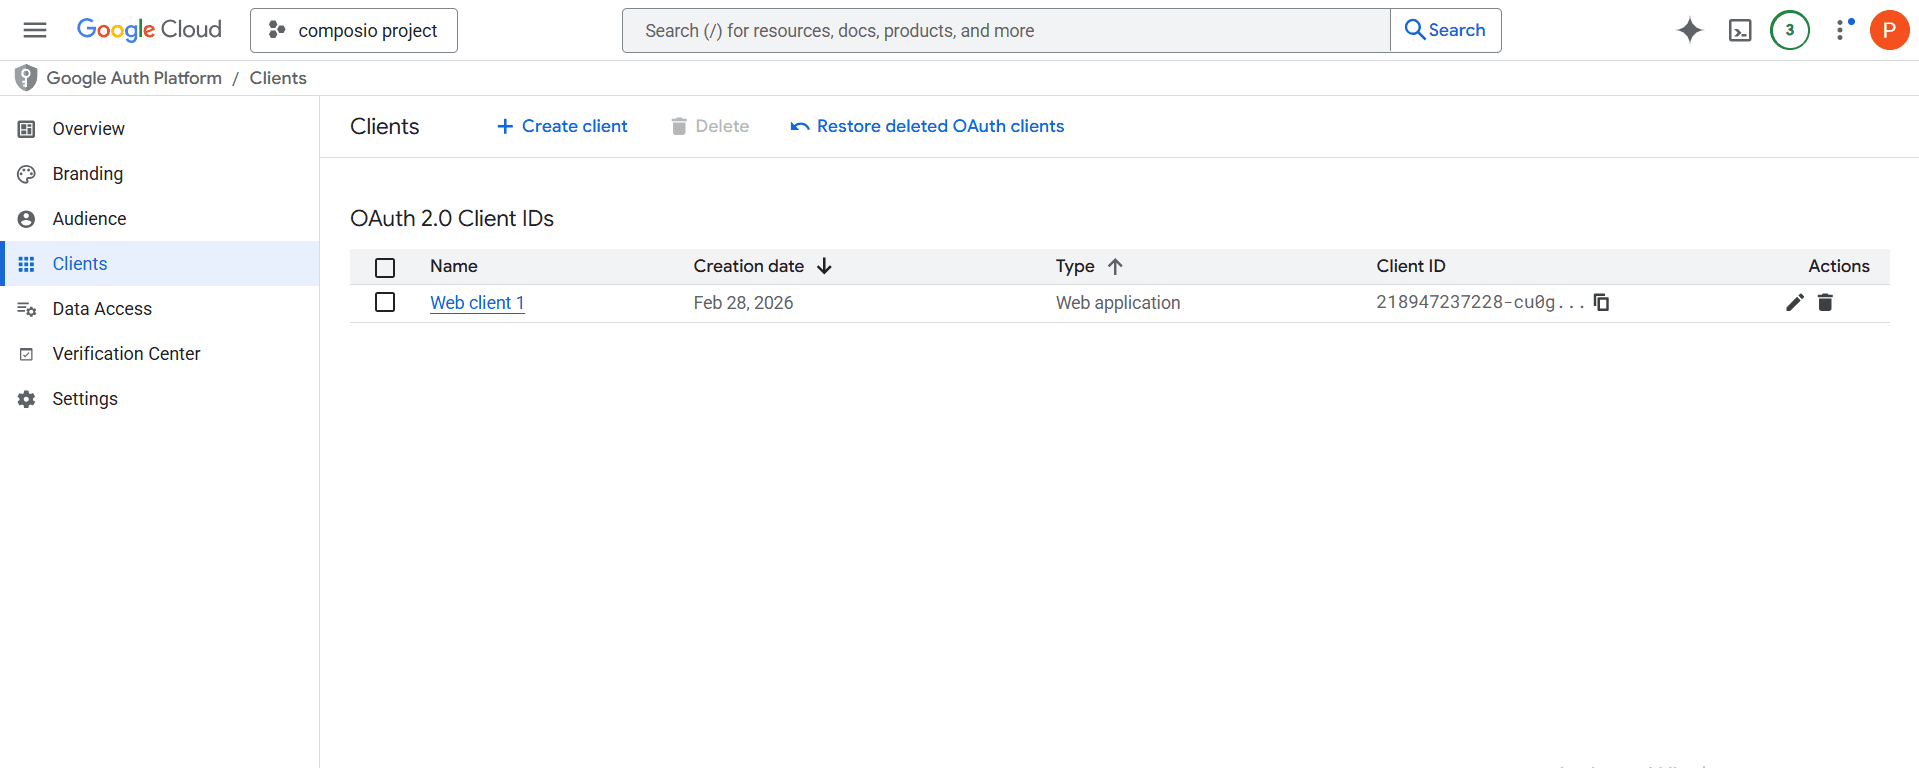
You can copy them immediately, or later find them again on the Clients page by clicking the client entry.
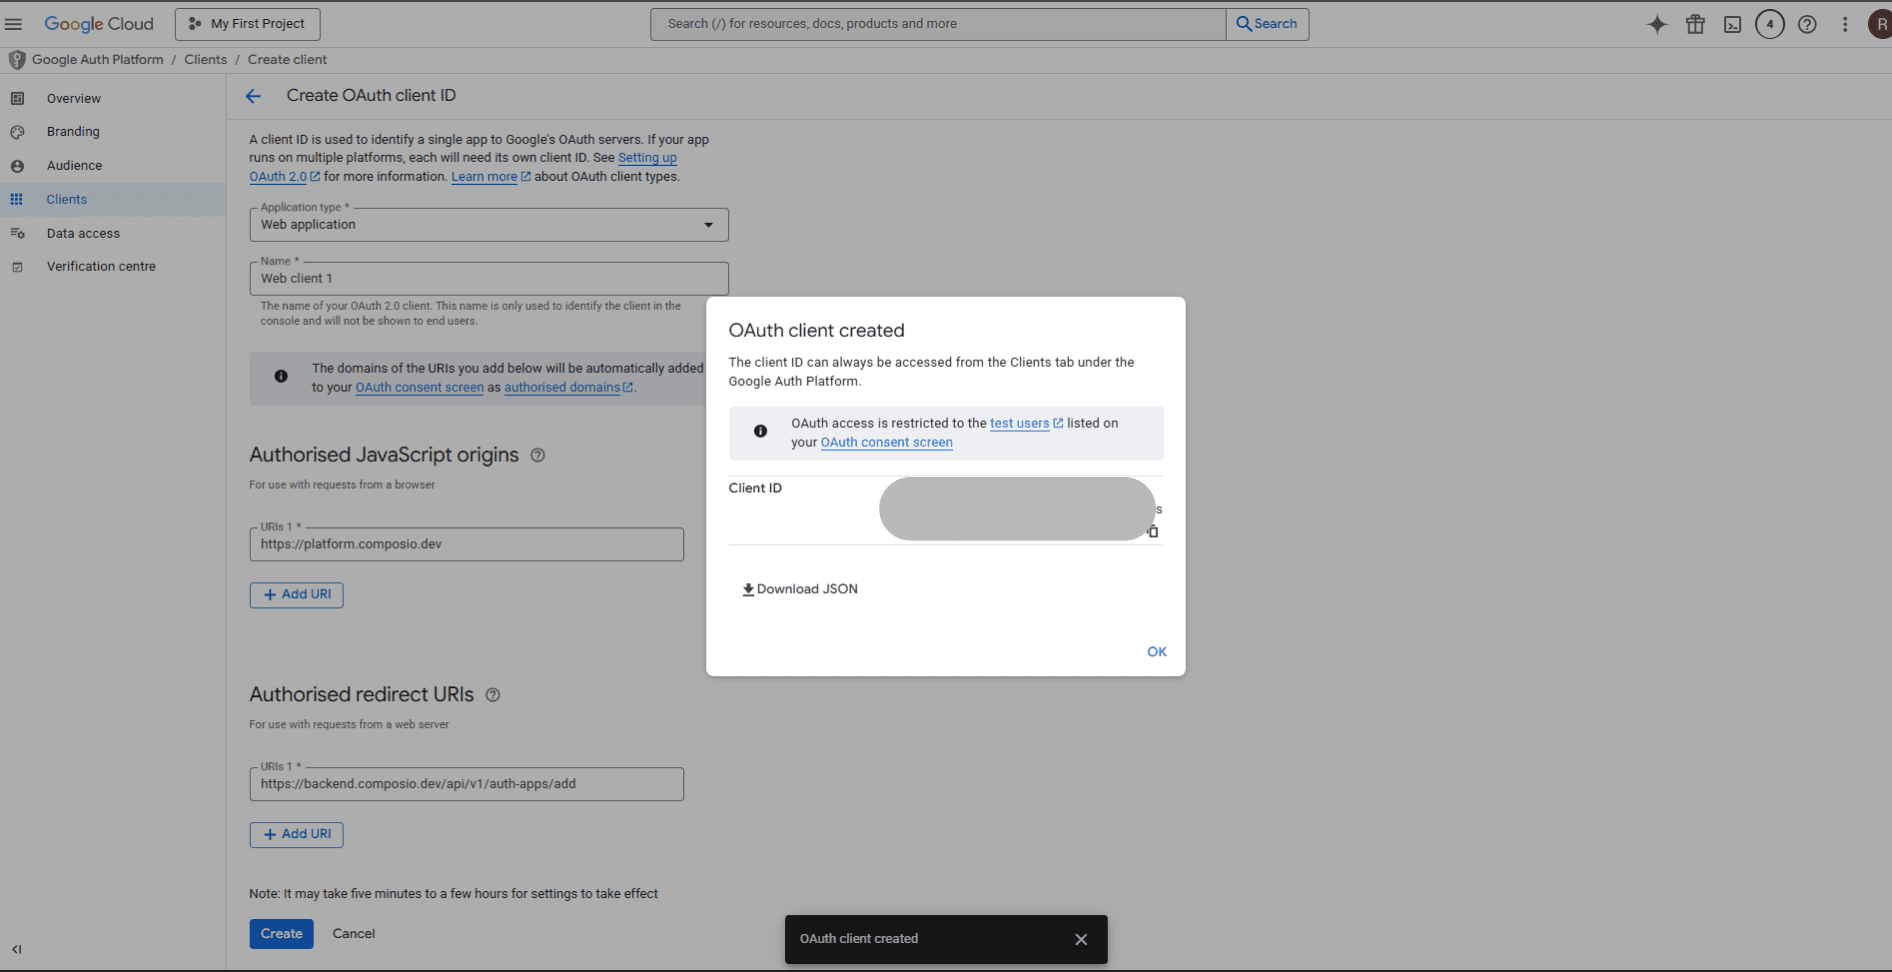
Now, after clicking OK, you will see the page below. From there, you can click on your client name to proceed.
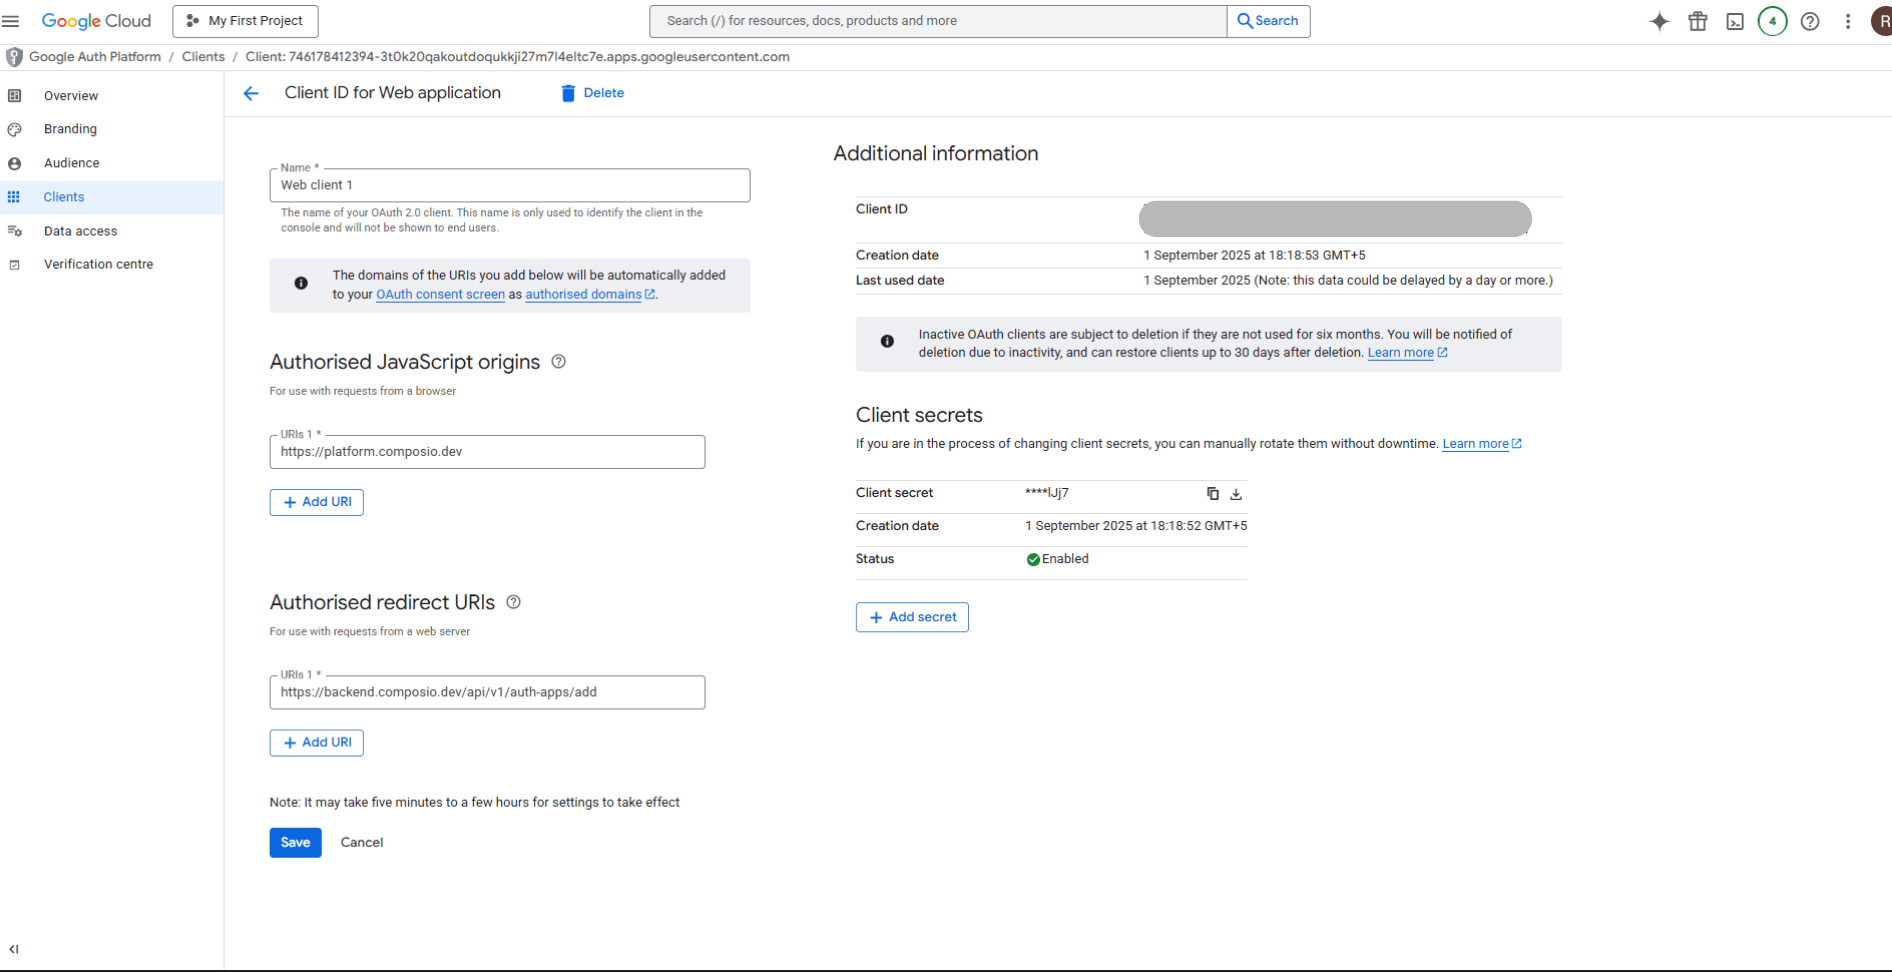
After clicking on your respective client name, you can now create a Client Secret associated with your Client ID.
Step 5: Set App Status (Publish or Test)
Testing Mode:
Keep your app in testing while building.
Add specific test users (emails) to validate authentication.
Production Mode:
Once you set the app status as In production, it becomes available to all Google users.
Depending on your configuration, you may need to submit the app for Google verification.
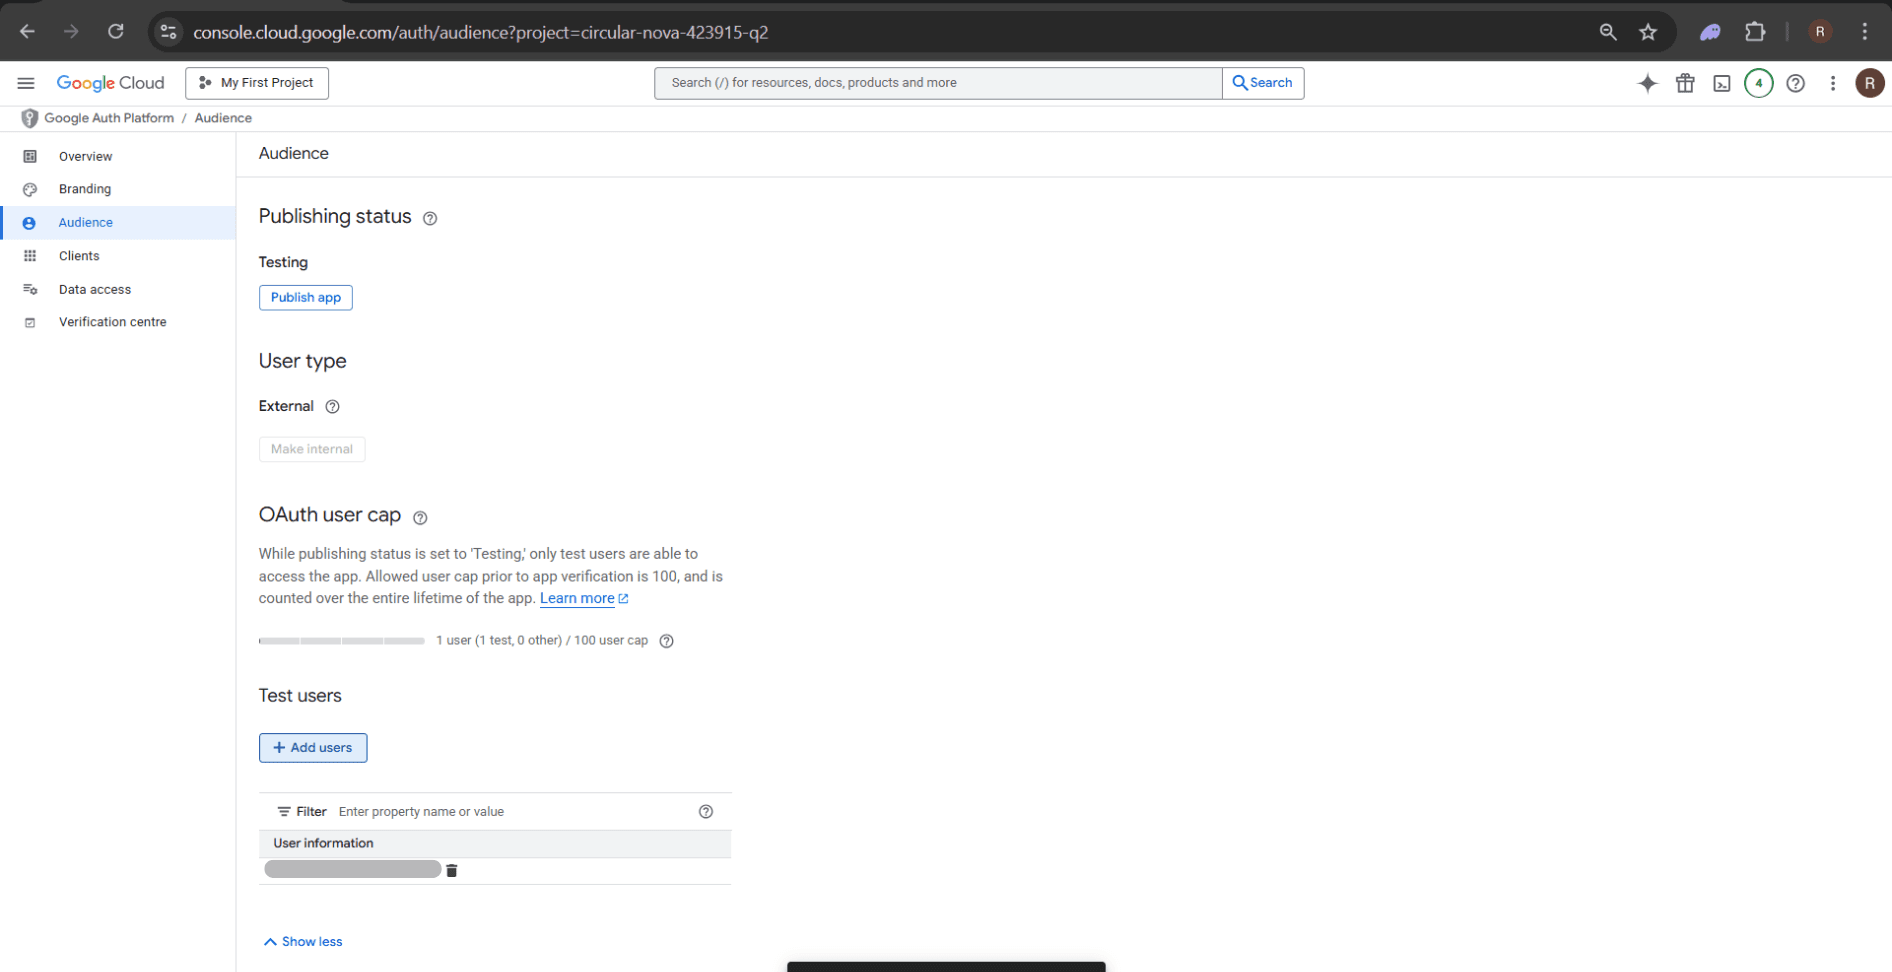
For now, add yourself (or your test users) under the Test Users section to validate your setup.
Creating the Auth Config in Composio
With your OAuth credentials ready, navigate to the Composio Dashboard to configure Google authentication.
Click Create Auth Config
Choose Gmail from the toolkit list.
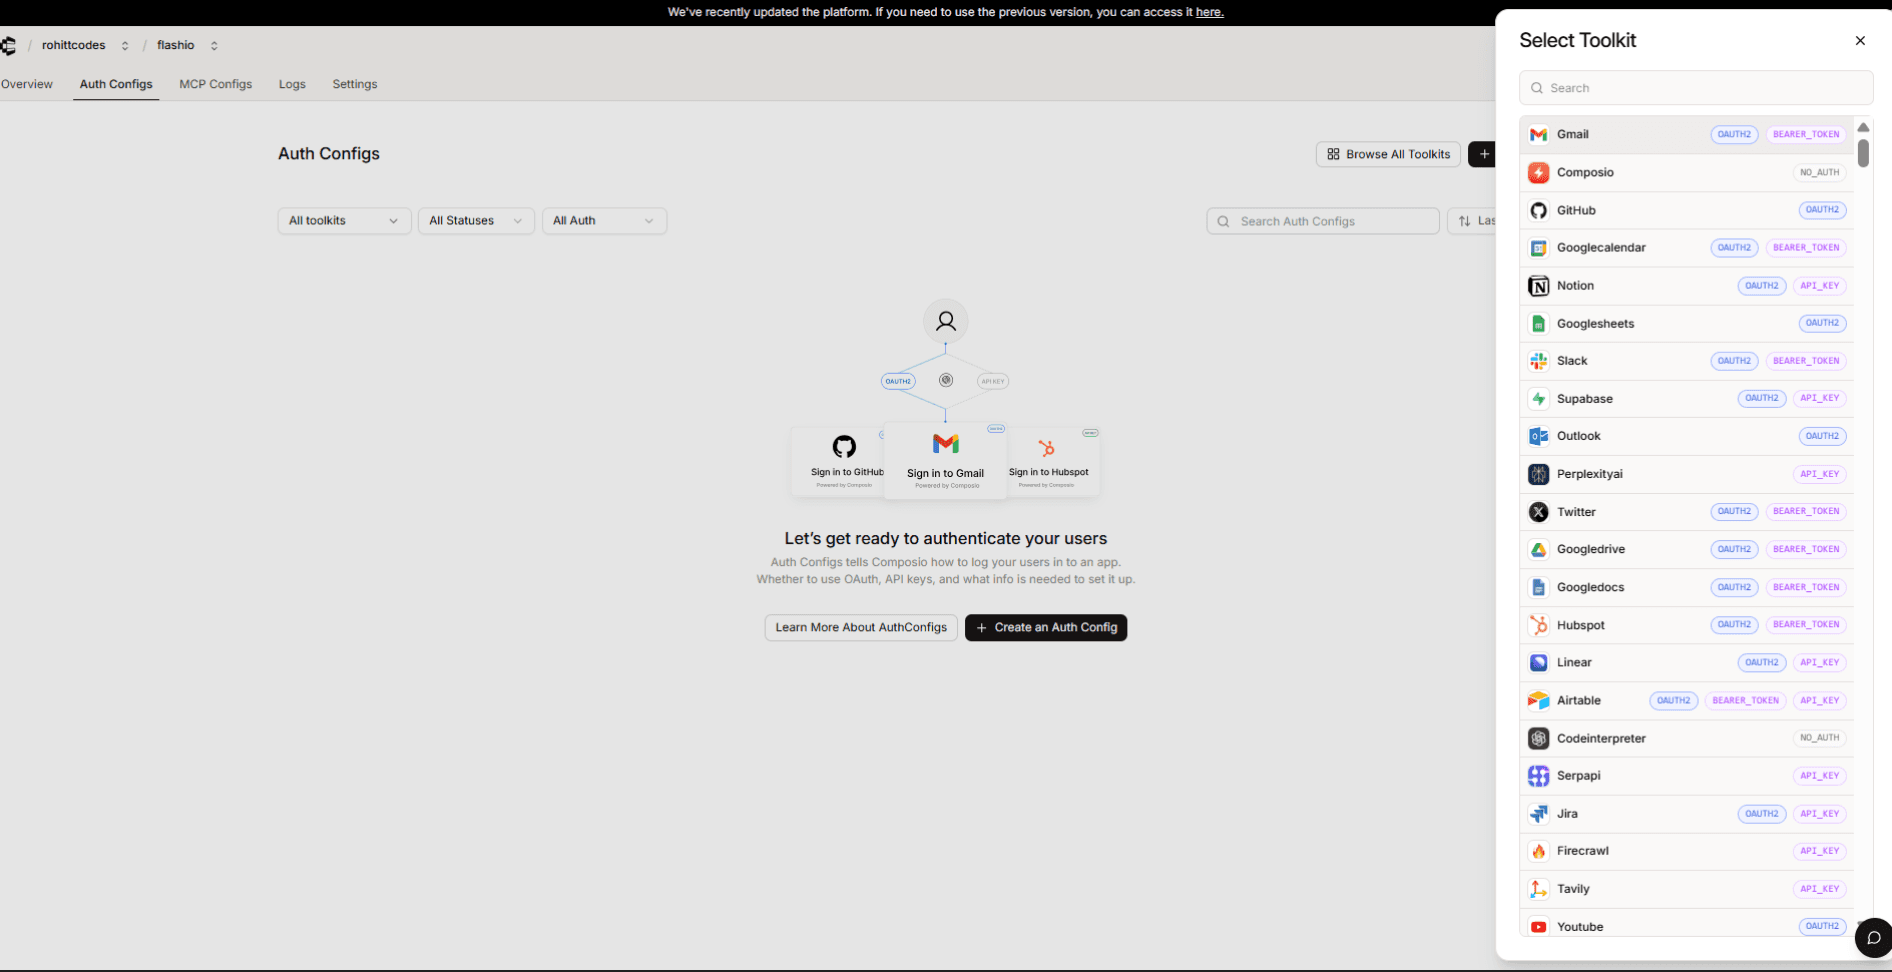
Make sure OAuth2 is selected
Check “Use your own developer credentials”
Step 6: Fill in the Auth Config
Go to Manage Auth Config and paste your credentials:
Client ID → from GCP OAuth Client
Client Secret → from GCP OAuth Client
Redirect URI → must match the one you configured in GCP

You can also customize the scopes if needed (default scopes are usually sufficient).
Finally, click Create Auth Config. You’ll now have a Config ID (ac_...) that can be used in your app code to trigger authentication via Google
Extending to Other Google Services
The process above was for setting up Google OAuth with Composio Auth Platform. You can follow the same steps to integrate other Google services (Sheets, Calendar, Drive, etc.) into your Composio setup.
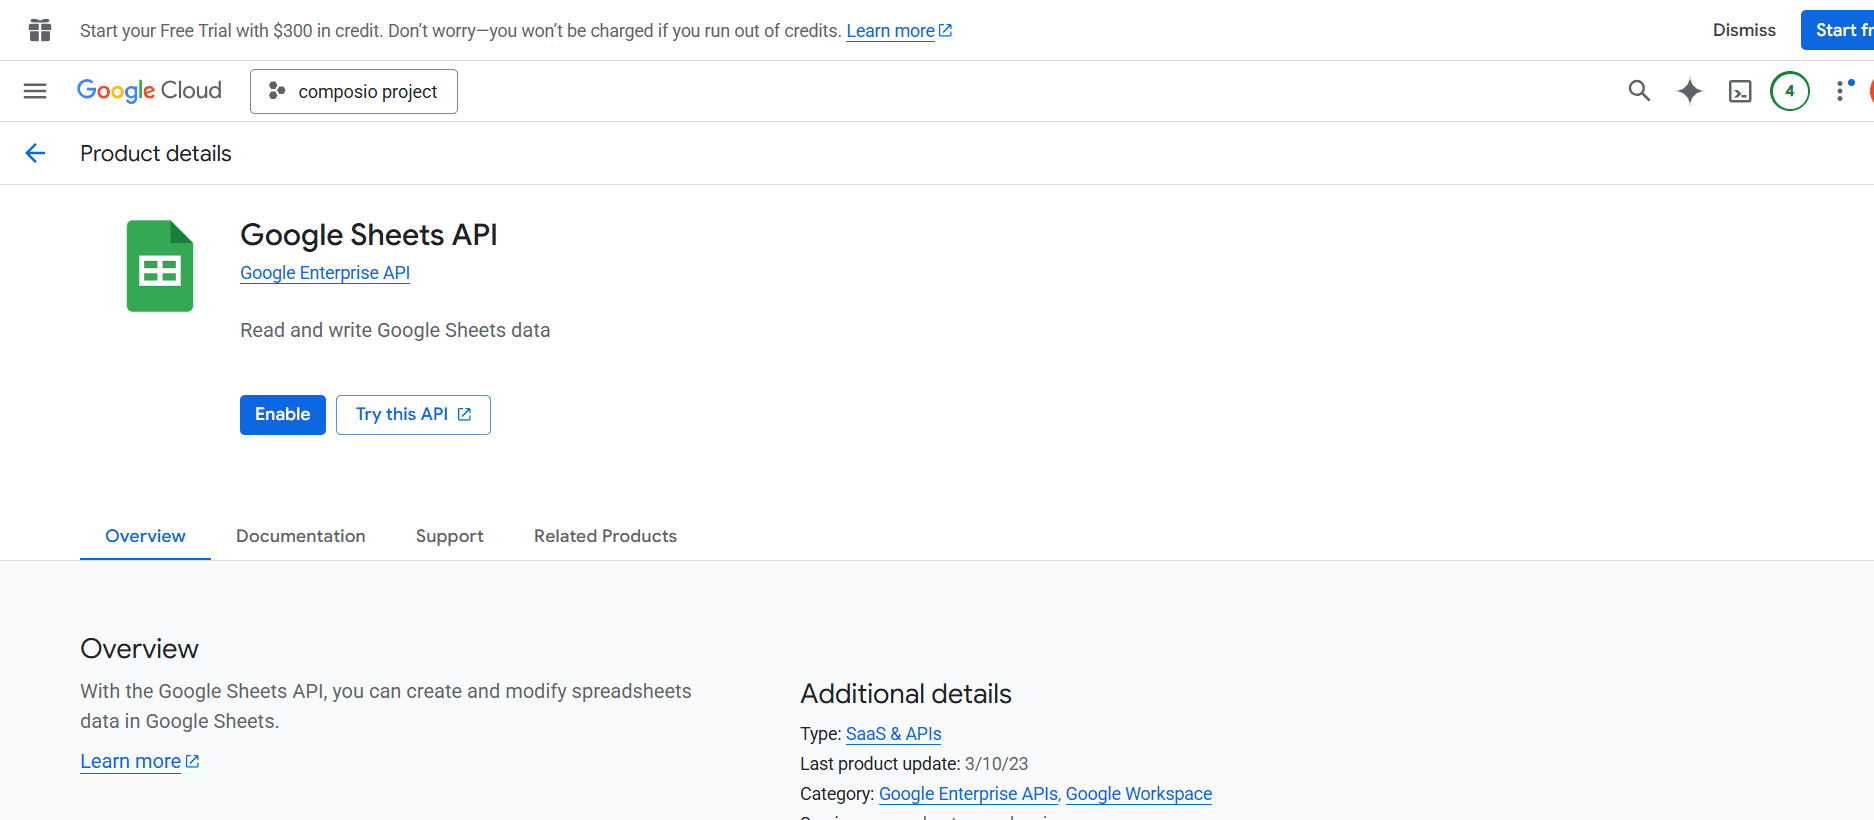
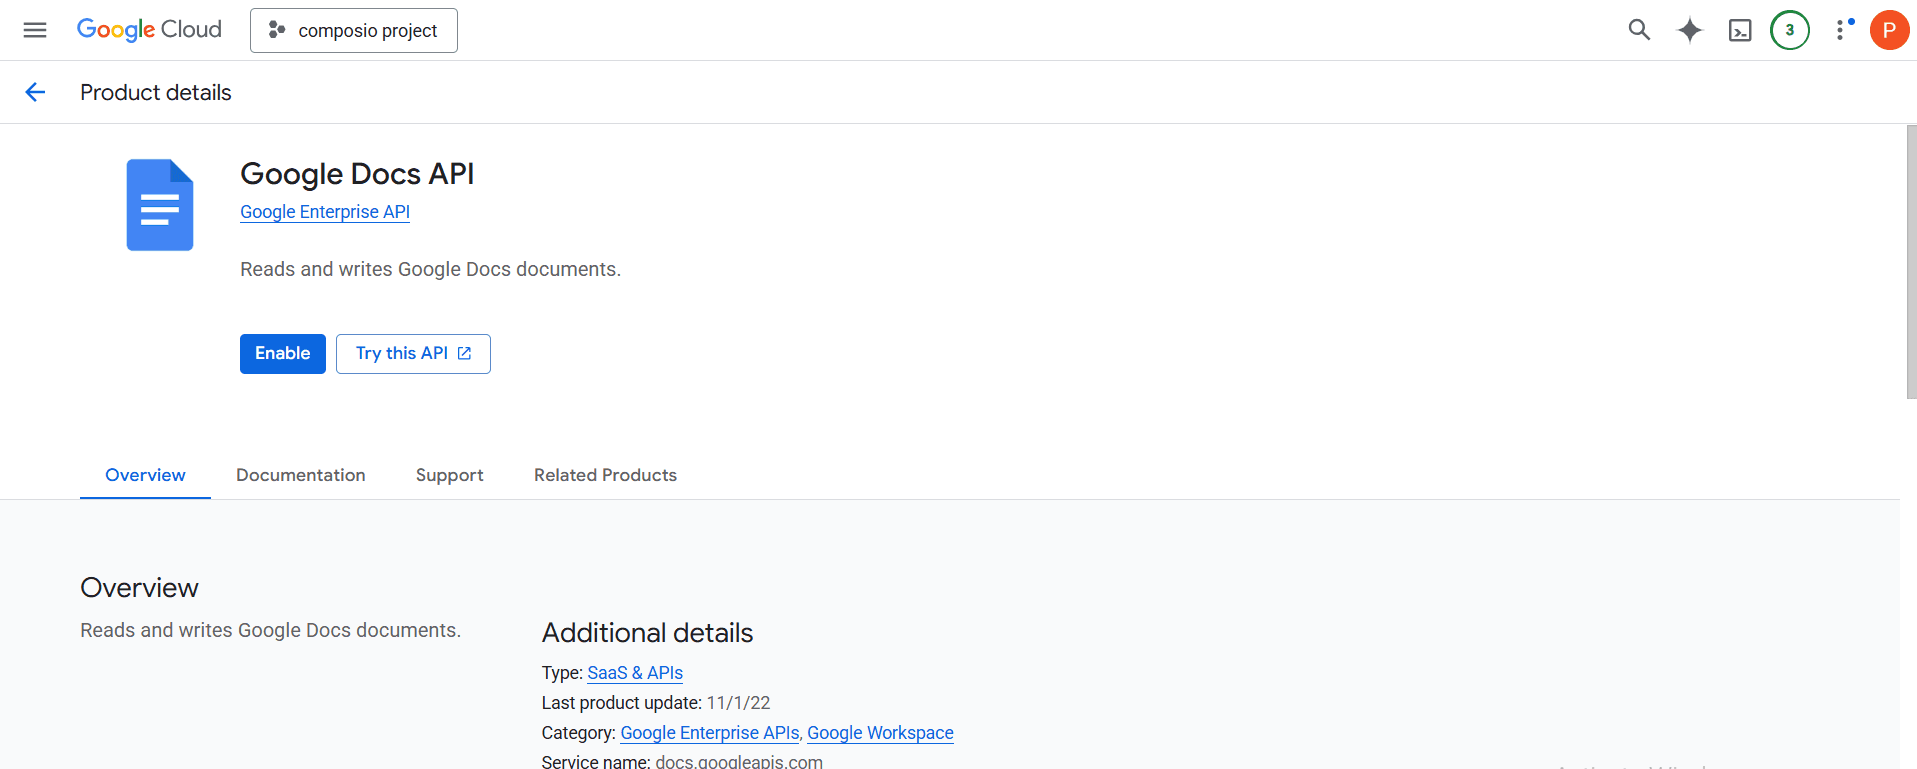
Simply go to APIs & Services → Library in your GCP project.
Enable the APIs you want (e.g., Google Sheets API, Google Calendar API).
Reuse the same OAuth Client you created earlier or create a new one if needed.
You can search in the Library for the respective service you want to use, such as Google Docs, Google Sheets, Google Calendar, or Google Drive, enable the required API service, and then use the same credentials for configuration.